
Is your RV water heater not working? This common problem can ruin your trip.
A quick diagnosis can save you from cold showers and discomfort. Understanding why your RV water heater isn’t working can be challenging. It could be a simple fix or a sign of a bigger issue. This guide will help you identify potential problems.
We will explore common causes like power issues, faulty thermostats, and sediment buildup. With this information, you can troubleshoot effectively. Save time and avoid unnecessary repairs. Don’t let a malfunctioning water heater spoil your adventure. Let’s dive in and get your RV water heater back in action!
Common Rv Water Heater Issues
RV water heaters are essential for comfort during trips. Yet, they can face problems. Understanding these issues helps in fixing them quickly. Here are some common RV water heater problems.
No Hot Water
One of the most common issues is getting no hot water. This can be frustrating. Here are some possible causes:
- Power Supply: Ensure the water heater is connected to power.
- Thermostat Issues: Check if the thermostat is set correctly.
- Heating Element: The heating element might need replacement.
- Gas Supply: For gas heaters, ensure the gas supply is on.
Using a multimeter, you can check the electric connections. If unsure, consult a technician.
Inconsistent Temperature
Another issue is inconsistent water temperature. The water may be too hot or too cold. Possible reasons include:
- Thermostat Settings: The thermostat might need adjustment.
- Mineral Buildup: Sediments can affect water flow and temperature.
- Faulty Valves: Check the mixing and pressure relief valves.
Regular maintenance can help avoid these problems. Flushing the water heater can remove mineral buildup. Also, inspect the valves periodically for wear and tear.
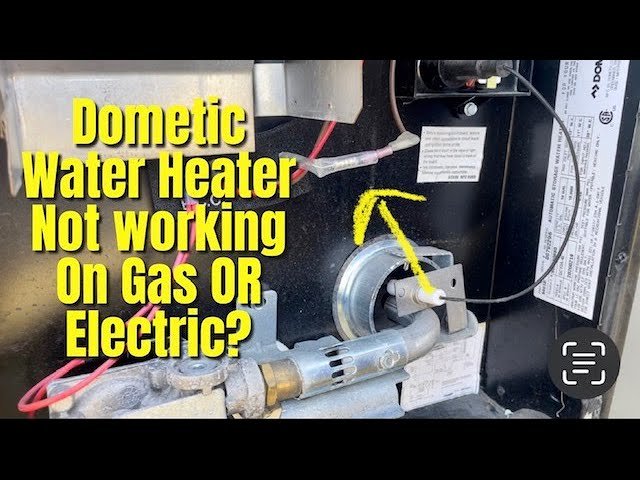
Credit: www.reddit.com
Checking The Power Source
One common issue with RV water heaters is a lack of power. Before diving into complex repairs, always start by checking the power source. This simple step can save you time and effort. Here’s how to check the power source for both electric and gas heaters.
Electric Heaters
Electric heaters need a steady power supply. First, check if the heater is plugged in properly. Sometimes, the plug may come loose due to travel vibrations. Ensure it is firmly connected.
Next, inspect the circuit breaker. RVs often have a dedicated breaker for the water heater. Make sure the breaker is not tripped. If it is, reset it and see if the heater works. If the breaker trips again, there might be a more serious electrical issue.
Another crucial step is to check the thermostat. A malfunctioning thermostat can prevent the heater from working. Replace it if necessary. Also, look for any burnt wires. Burnt wires indicate a problem that needs professional attention.
Gas Heaters
Gas heaters rely on propane. First, ensure the propane tank is not empty. It’s easy to overlook this simple cause. Check the level and refill if needed.
Next, examine the gas valve. The valve should be in the open position. Sometimes, it gets turned off accidentally. Open it fully and try running the heater again.
Inspect the pilot light. A faulty pilot light can prevent the heater from igniting. Clean the pilot light if it is dirty. Dirt can block the flow of gas. If the pilot light won’t stay lit, the thermocouple may need replacement. The thermocouple senses the pilot light and allows gas flow.
Also, check for any gas leaks. Leaks can be dangerous. Use a soap-water solution to detect leaks around connections. Bubbles indicate a leak. Fix it immediately or call a professional.
Inspecting The Thermostat
Your RV water heater may not work if the thermostat has issues. The thermostat controls the water temperature. If it fails, the water heater might not heat water properly. Inspecting the thermostat can help identify the problem.
Testing The Thermostat
First, ensure the water heater is off. Safety is crucial. Locate the thermostat. It is usually near the bottom of the water heater. Use a multimeter to test the thermostat.
- Set the multimeter to the lowest ohm setting.
- Remove the thermostat cover.
- Place the multimeter probes on the thermostat terminals.
If the multimeter shows a reading, the thermostat is fine. If there is no reading, the thermostat is faulty. You will need to replace it.
Replacing The Thermostat
If the thermostat is faulty, replacing it is necessary. Follow these steps:
- Turn off the power to the water heater.
- Remove the faulty thermostat.
- Install the new thermostat.
- Reconnect the wires carefully.
- Replace the thermostat cover.
- Turn the power back on.
After replacing, test the water heater. Ensure it heats the water to the correct temperature.
| Step | Action |
|---|---|
| 1 | Turn off power |
| 2 | Remove faulty thermostat |
| 3 | Install new thermostat |
| 4 | Reconnect wires |
| 5 | Replace cover |
| 6 | Turn power back on |
Replacing the thermostat can solve the water heating issue. Always follow safety guidelines when working with electrical components.
Examining The Heating Element
Your RV water heater not working can be frustrating. One common issue is a faulty heating element. The heating element is crucial for warming water in your RV. Understanding its function helps in diagnosing problems.
Signs Of A Faulty Element
A faulty heating element often shows clear signs. Cold water is the most obvious sign. If the water never heats up, the element might be broken. Another sign is a tripping circuit breaker. This indicates an electrical issue with the heater.
Unusual noises can also signal trouble. If you hear popping or hissing sounds, the element may have mineral buildup. This reduces its efficiency. Lastly, discolored water can indicate element damage. Rusty or cloudy water means you should inspect the heater.
How To Replace
Replacing a faulty heating element involves a few steps. First, turn off the power supply. Safety is essential. Next, drain the water heater. Open the drain valve and release the water. Remove the access panel to expose the heating element.
Use a wrench to unscrew the old element. Carefully pull it out. Insert the new heating element in its place. Tighten it securely. Close the drain valve and refill the heater with water. Finally, restore the power supply and test the heater.
Assessing The Pilot Light
Is your RV water heater not working? The pilot light might be the issue. The pilot light is essential for igniting the gas burner. If it goes out, the water heater won’t work. Let’s look at how to assess and fix the pilot light.
Relighting The Pilot
First, ensure the gas supply is on. Locate the pilot light access panel. It is usually at the bottom of the heater.
- Open the access panel.
- Find the pilot light assembly.
- Turn the control knob to “Pilot”.
- Press and hold the knob in.
- Use a long lighter to relight the pilot.
- Keep holding the knob for 30 seconds after the pilot lights.
If the pilot light stays on, great! Close the panel and check if the heater works. If the pilot light goes out, there might be other issues.
Pilot Light Maintenance
Regular maintenance can prevent pilot light issues. Check for dirt and debris around the pilot light assembly. Clean it with a brush or compressed air.
Look at the thermocouple. It senses the pilot light and keeps the gas valve open. If it’s dirty or damaged, it might cause issues.
| Maintenance Task | Frequency |
|---|---|
| Clean pilot light assembly | Monthly |
| Inspect thermocouple | Monthly |
Replace a faulty thermocouple with a new one. This is a simple and inexpensive fix.
Finally, make sure the gas supply line is clear. This ensures a steady flow of gas to the pilot light.
Credit: roadtrippers.com
Flushing The Water Heater
Flushing the water heater in your RV is essential for maintaining its efficiency. Over time, sediment and minerals build up inside the tank. This buildup can cause your water heater to malfunction. Regular flushing helps prevent these issues.
Why Flushing Is Important
Flushing removes sediment from the water heater. Sediment can cause several problems. It can clog the system and reduce efficiency. This makes the water heater work harder. It also increases energy use. Sediment buildup can even lead to corrosion.
A clean water heater works better and lasts longer. Regular flushing ensures hot water is always available. It also helps avoid unexpected breakdowns. This simple task can save you money on repairs.
Steps To Flush
Start by turning off the water heater. Turn off the water supply too. Next, connect a hose to the drain valve. Place the other end in a safe drainage area. Open the drain valve and let the water flow out. This will remove the sediment.
Once the tank is empty, close the drain valve. Remove the hose. Reopen the water supply valve. Let water fill the tank. Turn on the water heater again. Check for leaks and ensure everything works fine.
Remember to flush your water heater regularly. Doing so keeps your system running smoothly. It ensures you always have hot water when you need it.
Checking For Leaks
Is your RV water heater not working? One common issue might be leaks. Checking for leaks is crucial. Leaks can cause significant problems. Let’s dive into this important step.
Common Leak Points
There are several common places where leaks can occur. Inspect the connections first. Look at the inlet and outlet valves. They are frequent culprits. Examine the pressure relief valve next. It can also leak if faulty. Don’t forget the tank itself. Cracks or rust can cause leaks there. Check the drain plug. It might be loose or damaged.
Fixing Leaks
Fixing leaks is essential to restore your water heater. Start with tightening any loose connections. Use a wrench if needed. Replace faulty valves. They are inexpensive and easy to find. Seal any minor cracks in the tank. Epoxy putty works well for this. If the drain plug is the issue, replace it. A new plug can fix the problem.
If leaks persist, professional help might be necessary. A trained technician can diagnose and repair complex issues. Regular maintenance can prevent leaks. Inspect your water heater often. Address small issues before they become big problems.
Regular Maintenance Tips
Regular maintenance of your RV water heater can prevent many issues. It ensures your water heater works efficiently and lasts longer. Follow these simple tips to keep your water heater in top condition.
Routine Inspections
Check for any visible signs of wear or damage. Look at the water heater’s exterior for cracks, rust, or leaks. Inspect the connections and hoses for any loose fittings or signs of corrosion. Make sure the venting system is clear and free of obstructions.
Test the pressure relief valve regularly. Lift the valve’s lever and let it snap back. If water flows, the valve is working. If not, replace it to avoid pressure buildup. Also, listen for unusual noises when the water heater runs. Strange sounds can indicate a problem.
Preventive Measures
Drain and flush the tank every six months. This removes sediment buildup that can damage the tank and reduce efficiency. Turn off the heater and let the water cool before starting. Attach a hose to the drain valve and let the water flow out.
Replace the anode rod every year. The anode rod protects the tank from corrosion. If it is worn out, the tank can rust. Check the rod’s condition and replace it if it is less than half an inch thick. Use a wrench to remove the old rod and install a new one.
Ensure the thermostat is set correctly. The ideal temperature is around 120 degrees Fahrenheit. This prevents scalding and saves energy. Adjust the thermostat if needed. Regularly check the pilot light if you have a gas water heater. It should be steady and blue.
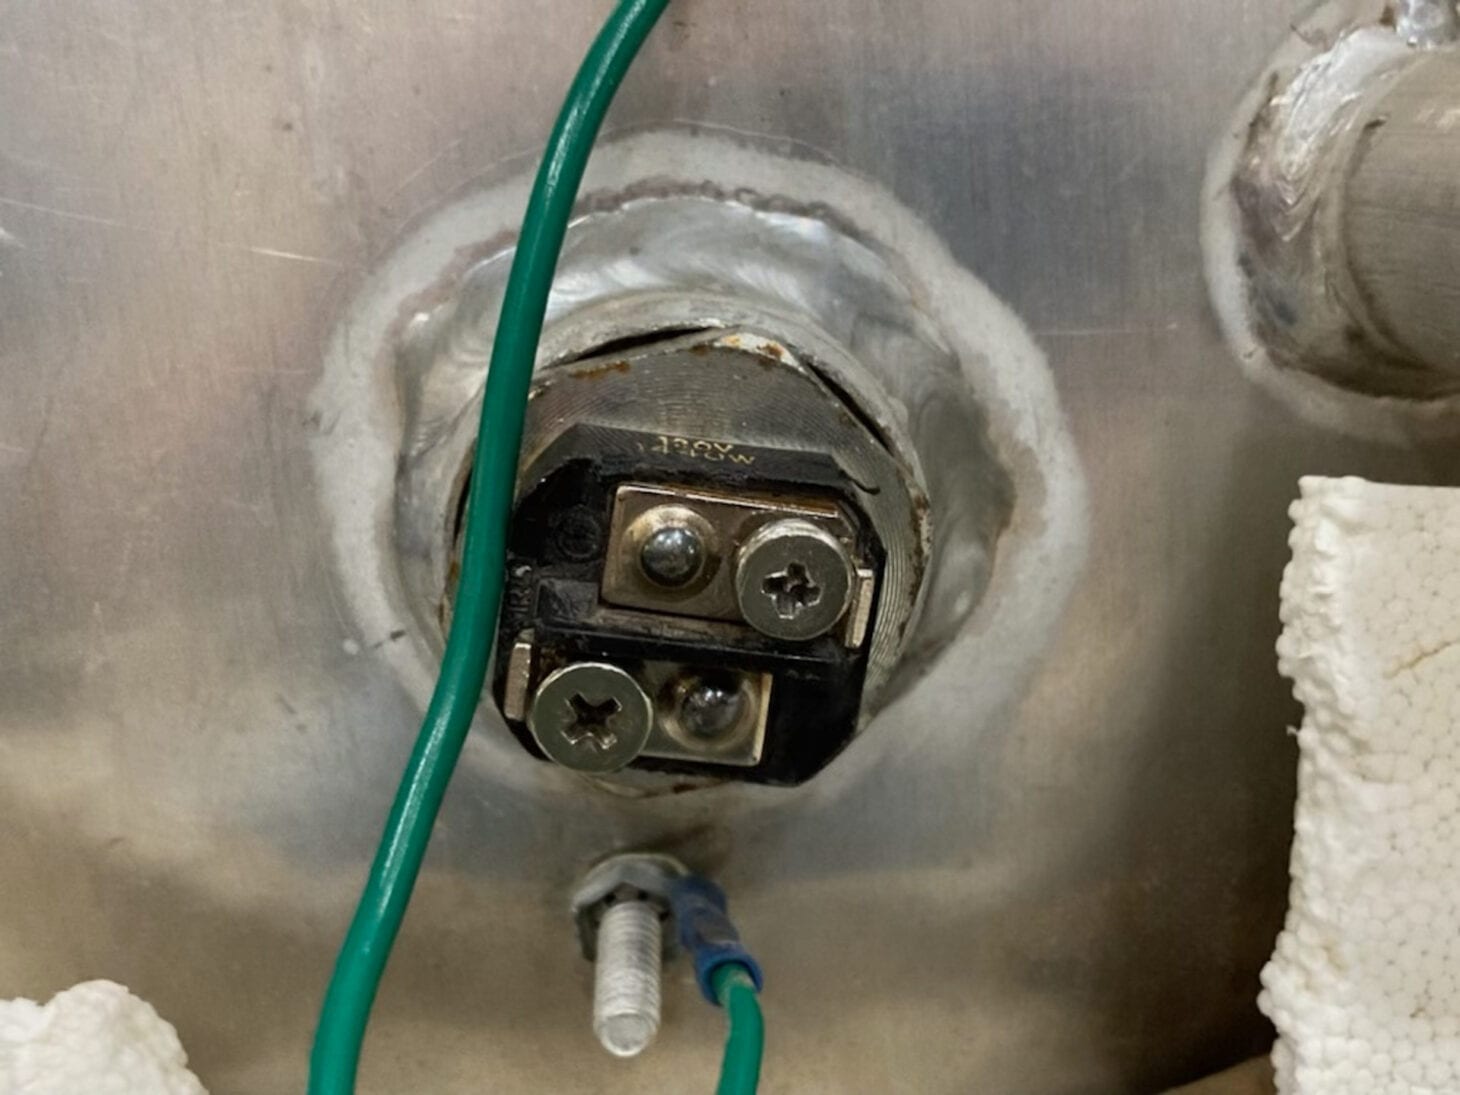
Credit: www.youtube.com
Frequently Asked Questions
Why Is My Rv Water Heater Not Heating?
Your RV water heater might not be heating due to a tripped circuit breaker, faulty thermostat, or a malfunctioning heating element. Check these components and replace or reset as needed.
How Do I Reset My Rv Water Heater?
To reset your RV water heater, locate the reset button on the heater. Press and hold the button for a few seconds. If it doesn’t work, consult the manual for further instructions.
What Causes Low Water Pressure In My Rv?
Low water pressure in your RV can be caused by clogged filters, kinks in the hose, or a faulty water pump. Check and clean filters, straighten hoses, and inspect the pump.
Why Is My Rv Water Heater Leaking?
A leaking RV water heater could be due to a loose drain valve, a faulty pressure relief valve, or a cracked tank. Inspect these parts and tighten or replace them as necessary.
Conclusion
Understanding why your RV water heater isn’t working can be challenging. Check common issues like power supply, pilot light, and thermostat settings. Regular maintenance helps prevent many problems. If you still face issues, consider consulting a professional. A functioning water heater ensures a comfortable RV experience.
Always prioritize safety and proper handling. With these tips, fixing your RV water heater becomes manageable. Stay informed, and enjoy your travels.


