
Is your RV toilet not holding water in the bowl? This can be a frustrating issue for many RV owners.
A properly functioning RV toilet is essential for comfort and hygiene during travels. When water fails to stay in the bowl, it can lead to unpleasant odors and sanitation problems. Understanding the reasons behind this problem is the first step towards fixing it.
Common causes include a faulty seal, debris buildup, or valve issues. In this blog post, we will explore the potential causes and solutions for an RV toilet that doesn’t hold water. By the end, you’ll have a clearer idea of how to address this issue and ensure your RV toilet remains in top working condition.
Common Causes
Having trouble with your RV toilet not holding water in the bowl? This is a common issue many RV owners face. Understanding the causes can help you fix it quickly. Let’s dive into the common reasons why your RV toilet may not be holding water.
Seal Issues
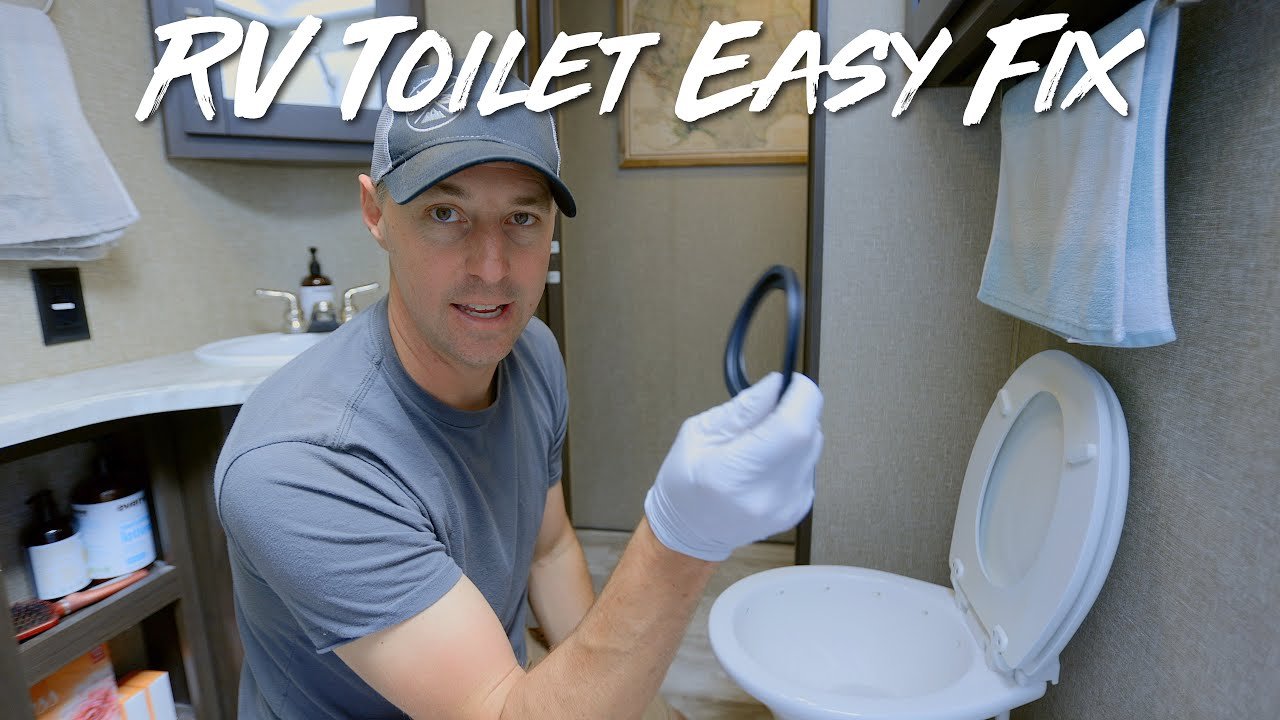
The most frequent cause is a faulty seal. The seal is meant to keep water in the bowl. Over time, seals can wear out or become damaged. When this happens, water slowly leaks out.
Signs of a faulty seal:
- Water level drops quickly.
- Visible cracks or wear on the seal.
- Unpleasant odors from the toilet.
To fix this, you may need to replace the seal. Ensure you get the right size for your RV model. Regular maintenance can also help prevent seal issues.
Cracked Bowl
A cracked bowl is another common issue. Cracks can cause water to leak out, leaving the bowl dry. Even small cracks can lead to significant water loss.
Check for these signs:
- Visible cracks or splits in the bowl.
- Water pooling around the toilet base.
- Constant need to refill the bowl.
If you find a crack, the best solution is to replace the bowl. Depending on the extent of the damage, you might need a professional to help.
Regular inspections can help catch problems early. This can save you time and money in the long run.

Credit: www.amazon.sa
Tools And Materials
If your RV toilet isn’t holding water in the bowl, you need to address the issue quickly. Having the right tools and materials can make the repair process smoother. This section will guide you through the necessary items to fix your RV toilet effectively.
Required Tools
- Adjustable Wrench: Useful for loosening and tightening bolts.
- Flathead Screwdriver: Needed for prying parts apart.
- Rubber Gloves: Essential for hygiene and safety.
- Flashlight: Helps you see in dark or tight spaces.
Necessary Materials
- Sealant: Ensures a watertight seal around components.
- Replacement Parts: This includes seals or gaskets.
- Clean Cloths: For wiping down surfaces and hands.
- Cleaning Solution: Keeps the area sanitary during repair.
Inspecting The Seal
Experiencing an RV toilet that doesn’t hold water can be frustrating. A common cause is a damaged or dirty seal. Inspecting the seal is crucial. This ensures your toilet functions properly.
Seal Location
First, locate the seal. It sits at the base of the toilet bowl. This rubber ring creates a watertight seal. It prevents leaks and keeps water in the bowl.
Check your RV toilet manual. It shows the exact seal location. Some models may differ.
Signs Of Damage
Inspect the seal closely. Look for any signs of wear and tear. Common signs of damage include:
- Cracks
- Warping
- Loose fit
Any of these issues can lead to water not staying in the bowl. A damaged seal needs replacing. This ensures a proper fit and function.
Also, check for dirt or debris. A dirty seal can prevent a tight fit. Clean it regularly to maintain its effectiveness.
Here is a simple checklist for inspecting the seal:
| Task | Details |
|---|---|
| Locate the seal | Check the base of the toilet bowl |
| Check for cracks | Look for visible splits or cracks |
| Inspect for warping | Ensure the seal is not misshaped |
| Ensure a tight fit | Seal should fit snugly without gaps |
| Clean the seal | Remove any dirt or debris |
By following these steps, you can keep your RV toilet in good working order. Inspecting and maintaining the seal is essential.
Replacing The Seal
Replacing the seal in your RV toilet is essential when water stops holding in the bowl. A properly functioning seal keeps the water where it should be. This not only prevents unpleasant odors but also ensures a clean and hygienic environment. Below is a step-by-step guide to help you replace the seal effectively.
Removing The Old Seal
First, turn off the water supply to your RV toilet. This prevents any leaks or spills during the process. Next, flush the toilet to remove any remaining water in the bowl. Use a sponge or a cloth to soak up any leftover water.
Then, locate the bolts holding the toilet to the floor. Use a wrench to remove these bolts carefully. Lift the toilet from its base and place it on a protective surface. You will now see the old seal at the bottom of the toilet bowl. Remove the old seal using a putty knife or a similar tool. Ensure you remove all debris and remnants of the old seal.
Installing The New Seal
Before installing the new seal, clean the area where the old seal was. This ensures a good fit for the new seal. Place the new seal in the same spot where the old seal was removed. Make sure it is aligned properly.
Lower the toilet back onto the base, ensuring the seal stays in place. Tighten the bolts back onto the floor to secure the toilet. Reconnect the water supply and turn it on. Flush the toilet to check if the new seal is holding the water.
If the water stays in the bowl, your new seal is installed correctly. Enjoy a fresh and functional RV toilet.
Checking For Cracks
One common issue RV owners face is the toilet not holding water in the bowl. This can be frustrating, especially during travels. Checking for cracks is a crucial step to identify the problem. Cracks can cause leaks, leading to water not staying in the bowl. Below, we’ll guide you through the process of checking for cracks.
Visual Inspection
Start by visually inspecting the toilet bowl. Look closely at the surface for any visible cracks. Check around the base and the sides. Sometimes, cracks are small and hard to see. Use a flashlight to get a better view. Pay attention to any discoloration or unusual marks.
Testing With Water
After the visual inspection, test the toilet with water. Fill the bowl with water and observe. Watch for any signs of leaking. If the water level drops quickly, it indicates a possible crack. You can also add a few drops of food coloring to the water. This helps in spotting leaks more easily.
Repairing Cracks
Dealing with an RV toilet that won’t hold water is frustrating. One common reason for this issue is cracks in the toilet bowl. These cracks can cause leaks, leading to unpleasant odors and unsanitary conditions. Let’s explore how to repair these cracks to restore the functionality of your RV toilet.
Temporary Fixes
Before diving into permanent solutions, you might need a quick fix. Temporary fixes can help you manage the problem until you can perform a thorough repair.
- Epoxy Resin: Epoxy resin can seal small cracks effectively. Clean the cracked area, apply the resin, and let it cure.
- Plumber’s Putty: This is another good option. It’s easy to apply and provides a temporary seal for minor cracks.
- Tape: Waterproof tape can help in emergencies. It’s not a long-term fix, but it can hold up until you get proper materials.
Permanent Solutions
For a long-lasting solution, addressing the root of the problem is necessary. Permanent repairs ensure your RV toilet remains functional and leak-free.
- Replacing the Toilet Bowl: If the cracks are severe, replacing the entire bowl may be the best option. This ensures no hidden cracks remain.
- Using a Quality Sealant: High-quality sealants designed for plumbing can provide a strong, durable repair. Follow the manufacturer’s instructions for the best results.
- Professional Repair Services: Sometimes, professional help is needed. Experts can assess the damage and provide a reliable repair.
Here’s a table summarizing the temporary and permanent solutions:
| Type | Solution | Description |
|---|---|---|
| Temporary | Epoxy Resin | Seals small cracks temporarily |
| Temporary | Plumber’s Putty | Easy to apply, provides a temporary seal |
| Temporary | Waterproof Tape | Quick emergency fix |
| Permanent | Replacing the Bowl | Best for severe cracks |
| Permanent | Quality Sealant | Provides a strong, durable repair |
| Permanent | Professional Services | Experts assess and repair |
By addressing the cracks in your RV toilet, you can ensure a pleasant and sanitary experience. Whether opting for a temporary fix or a permanent solution, taking action is key. Regular maintenance can also prevent future issues, keeping your RV’s plumbing in top shape.
Preventative Maintenance
Keeping your RV toilet functioning properly is crucial. Preventative maintenance can help avoid issues like the toilet not holding water in the bowl. Regular inspections and proper cleaning are key steps in maintaining your RV toilet. By following these simple practices, you can ensure a smooth and hassle-free experience during your travels.
Regular Inspections
Performing regular inspections is essential. Check for any leaks, cracks, or worn-out parts. Inspect the flush valve, seals, and the bowl itself. A quick inspection can prevent larger problems.
- Look for water around the toilet base.
- Check the condition of the rubber seals.
- Ensure the flush valve is functioning properly.
Proper Cleaning
Proper cleaning is vital for maintaining the toilet’s functionality. Use mild, non-abrasive cleaners to avoid damaging the bowl and seals. Clean the toilet at least once a week.
- Use a soft brush to clean the bowl.
- Clean under the rim where buildup can occur.
- Wipe down the exterior and seat with disinfectant wipes.
A clean toilet not only functions better but also prevents unpleasant odors. Following these cleaning steps will keep your RV toilet in top shape.
When To Seek Professional Help
Dealing with an RV toilet that won’t hold water can be frustrating. Sometimes, fixing the issue yourself is possible. Yet, there are times when you need professional help. Knowing when to seek expert advice can save you time and stress.
Identifying Complex Issues
Not all RV toilet problems are simple. If the toilet has persistent issues, it might be a sign of a larger problem. For example, if you notice leaks around the base, a professional should inspect it. Leaks can lead to water damage and mold.
Another complex issue is a malfunctioning valve. If the valve is broken, it might need a replacement. This task requires specific tools and skills. A professional can handle it safely.
Finding A Qualified Technician
Finding the right technician is crucial. Start by checking reviews online. Look for technicians with good ratings and positive feedback. You can also ask for recommendations from other RV owners.
When you contact a technician, ask about their experience with RV toilets. Ensure they have the right qualifications and certifications. This can give you peace of mind that they can solve the issue correctly.

Credit: www.youtube.com
Frequently Asked Questions
Why Is My Rv Toilet Not Holding Water?
Your RV toilet may not hold water due to a worn-out seal. Replacing the seal usually resolves this issue.
How Do I Fix An Rv Toilet Seal?
To fix the seal, you need to remove the old one. Clean the area and install a new seal.
Can A Clogged Pipe Cause Water Loss In Rv Toilet?
Yes, a clogged pipe can prevent water from staying in the bowl. Cleaning the pipes can solve this.
What Are Common Signs Of A Faulty Rv Toilet Seal?
Common signs include water leaking from the bowl and persistent odors. These indicate the seal may need replacement.
Conclusion
Fixing your RV toilet’s water retention issues can be straightforward. Regular maintenance is key. Check seals and valves often. Clean and replace parts when needed. Keep your RV toilet in top shape for a pleasant trip. No more worrying about leaks or smells.


