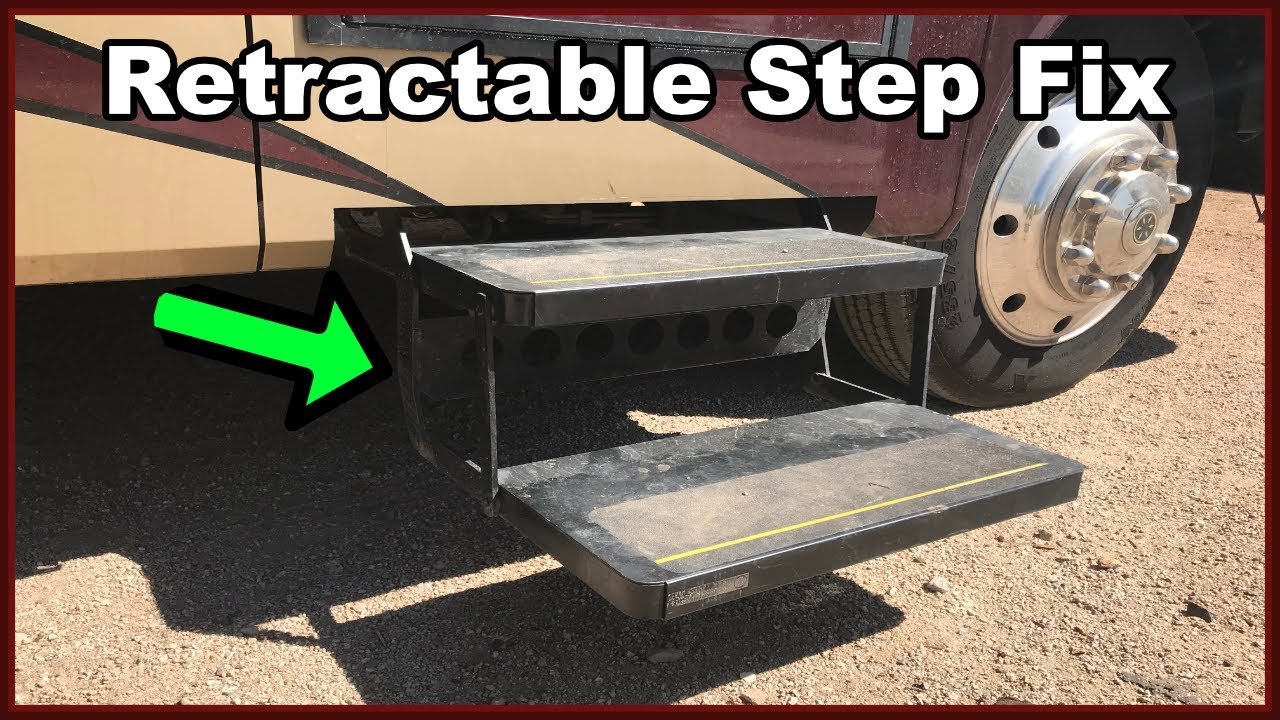
RV steps not retracting all the way can be a hassle. This problem can limit your travel plans and cause safety concerns.
Many RV owners face this issue. It can happen due to various reasons, including mechanical faults or electrical problems. Understanding why your RV steps won’t retract fully is crucial. This knowledge helps in finding the right solution and ensures your RV is safe and functional.
In this blog post, we’ll explore common causes and solutions. By the end, you’ll be better equipped to handle this issue and keep your RV adventures on track. Let’s dive in and get those steps working properly again!

Credit: www.youtube.com
Common Causes
Having issues with your RV steps not retracting all the way can be frustrating. Understanding the common causes can help you troubleshoot and fix the problem. Here, we will explore some of the main reasons why your RV steps might not be working as they should.
Power Issues
Power issues are a frequent cause of RV steps not retracting. Check the battery first. A low or dead battery can stop the steps from moving. Ensure the battery connections are tight and free from corrosion. Examine the fuse or circuit breaker related to the steps. A blown fuse can disrupt power flow. Replace it if necessary.
Obstructions
Obstructions can prevent RV steps from retracting fully. Check for debris or objects lodged in the mechanism. Leaves, dirt, and small stones can get stuck and block movement. Inspect the steps for any visible blockages. Remove any obstructions you find. Regular cleaning can help prevent these issues.
Mechanical Failures
Mechanical failures can also cause your RV steps to malfunction. Parts can wear out over time. Look for signs of wear and tear on the moving parts. Hinges, gears, and motors may need replacement. Lubricate the moving parts regularly to ensure smooth operation. If a part is broken, consider replacing it to restore function.
Initial Checks
Experiencing issues with your RV steps not retracting all the way? Start with some initial checks. These basic inspections can often reveal the root cause.
Battery Status
First, check the battery status. A weak or dead battery can hinder the steps’ retraction. Ensure the battery is fully charged. If the battery is low, recharge it and test the steps again. Sometimes, a simple battery check solves the problem.
Fuse Inspection
Next, inspect the fuses. A blown fuse can stop the steps from working. Locate the fuse box in your RV. Find the fuse that controls the steps. If the fuse is blown, replace it with a new one. Always carry spare fuses in your RV for emergencies.
Switch Functionality
Finally, examine the switch functionality. The switch might be faulty or loose. Check if the switch clicks when pressed. If it feels loose, tighten it. If it doesn’t work, consider replacing it. A functioning switch is essential for retracting the steps.
Inspecting The Motor
Experiencing issues with your RV steps not retracting all the way can be frustrating. One common culprit is a faulty motor. Inspecting the motor is a crucial step. Here, we will guide you through checking the motor’s power supply, connections, and signs of wear.
Motor Power Supply
First, ensure the motor is receiving power. Check the battery connections. They should be secure and free of corrosion. Use a multimeter to check the voltage. The voltage should match the motor’s specifications. If the voltage is low, the motor may struggle to function properly.
Consider the following table for common voltage ranges:
| Motor Type | Required Voltage |
|---|---|
| 12V Motor | 11.5V – 12.5V |
| 24V Motor | 23.5V – 24.5V |
Motor Connections
Next, check all motor connections. Loose or damaged wires can disrupt power flow. Inspect the wiring harness for any frayed or broken wires. Ensure all connectors are tight and secure. Use electrical tape to cover any exposed wires. This prevents short circuits and further damage.
- Check for loose connections
- Inspect for damaged wires
- Secure all connectors
- Cover exposed wires
Signs Of Wear
Lastly, look for signs of wear on the motor. A worn-out motor might struggle to retract the steps. Common signs include unusual noises, overheating, or visible damage. If the motor is making grinding or clicking sounds, it might be failing. Overheating can cause the motor to shut down temporarily. Inspect the motor casing for any cracks or dents.
Consider replacing the motor if it shows extensive wear. A new motor ensures reliable operation of your RV steps.
By inspecting the motor thoroughly, you can identify and fix issues. This ensures your RV steps retract smoothly every time.
Examining The Step Mechanism
RV steps not retracting all the way can be frustrating. The problem often lies in the step mechanism. Let’s explore the key areas to check and fix.
Hinges And Joints
Hinges and joints are crucial for smooth operation. Check for rust, dirt, and wear. Use a flashlight to inspect hidden areas.
- Ensure all bolts and nuts are tight.
- Look for any signs of bending or damage.
- Replace worn-out parts to prevent further issues.
Lubrication Needs
Lubrication ensures smooth movement of the steps. Dry hinges or joints can cause the steps to stick.
Apply a suitable lubricant to all moving parts. Use a spray lubricant for hard-to-reach areas.
- Clean the parts with a cloth.
- Spray or apply the lubricant evenly.
- Move the steps to spread the lubricant.
Regular lubrication extends the life of your RV steps.
Alignment Issues
Improper alignment can cause the steps to not retract fully. Check if the steps sit evenly when retracted.
| Issue | Possible Fix |
|---|---|
| Steps are uneven | Adjust the mounting brackets |
| Steps wobble | Tighten the bolts |
Use a level to ensure the steps are aligned. Misaligned steps can lead to more wear and tear.
Obstruction Removal
Obstructions can cause RV steps not to retract all the way. Removing these obstructions is crucial for smooth operation. Follow these simple steps to identify and clear any blockages in your RV steps.
Visual Inspection
Begin with a thorough visual inspection. Look closely at the steps and surrounding areas. Check for any visible objects blocking the steps. Small stones, twigs, or leaves can get stuck in the mechanism.
Clearing Debris
Clear any debris found during the inspection. Use your hands or a small brush to remove the debris. Pay attention to the corners and edges of the steps. Even small amounts of debris can hinder the retraction process.
Checking For Rust
Inspect the steps for rust. Rust can cause the steps to stick and not retract properly. Look at the hinges and moving parts. If you find rust, clean the area with a rust remover. Apply a lubricant to prevent future rusting.
Electrical Troubleshooting
Electrical troubleshooting is often the first step when your RV steps are not retracting all the way. By inspecting the wiring, testing the circuits, and checking the controller, you can identify and fix the issue. This can save time and avoid costly repairs. Follow the steps below to diagnose the problem.
Wiring Inspection
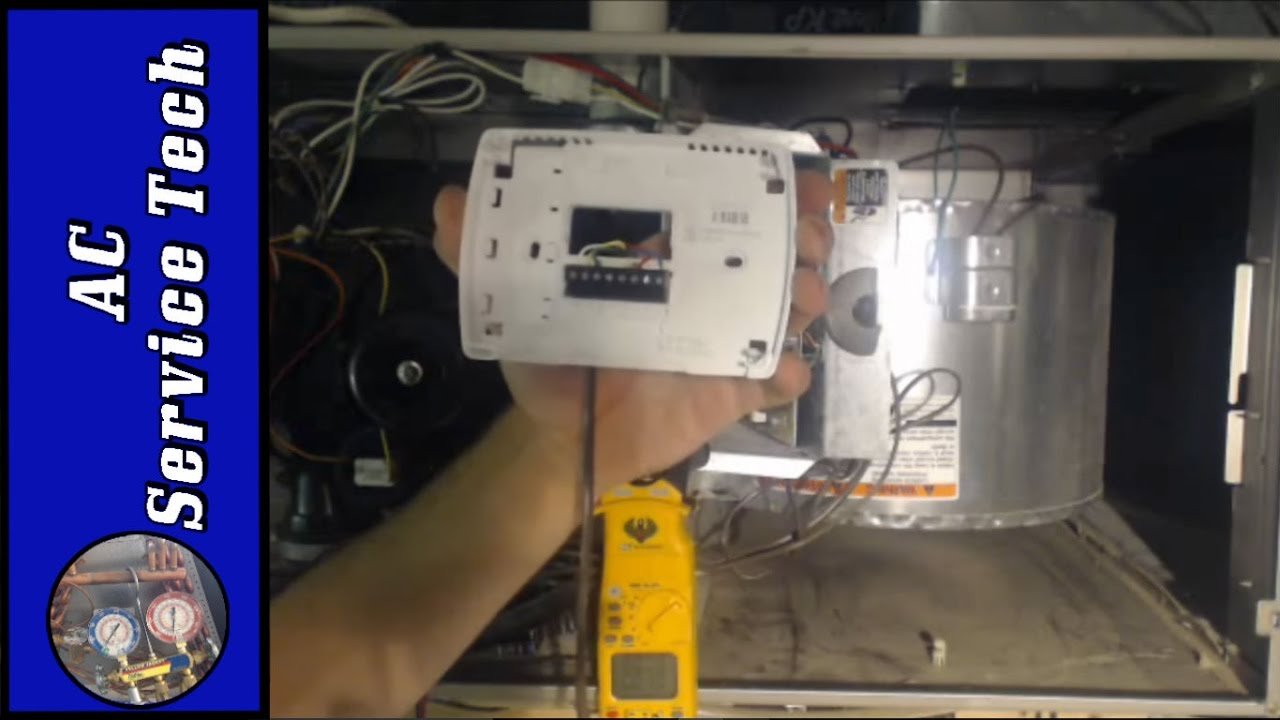
Begin with a thorough wiring inspection. Look for any obvious signs of damage or wear. Check if the wires are loose, frayed, or disconnected. Pay special attention to connections and terminals. Use a multimeter to test the voltage at different points. This ensures that power flows correctly through the system.
| Component | Action |
|---|---|
| Connections | Ensure they are tight and secure |
| Wires | Look for damage and wear |
| Terminals | Check for corrosion |
Circuit Testing
Next, proceed with circuit testing. Use a multimeter to check for continuity in the circuits. This helps identify breaks or faults in the wiring. Follow these steps:
- Turn off the power to the RV steps.
- Disconnect the circuit at both ends.
- Set the multimeter to continuity mode.
- Place the probes at each end of the circuit.
- If the multimeter beeps, the circuit is continuous.
- If there is no beep, there is a break in the circuit.
Controller Checks
Finally, perform controller checks. The controller manages the operation of the RV steps. Ensure it receives power and functions correctly. Examine the controller for signs of damage. Test the output voltage to the steps. If the controller is faulty, it may need to be replaced.
Follow these steps:
- Check the power supply to the controller.
- Inspect the controller for physical damage.
- Test the output voltage with a multimeter.
- Replace the controller if necessary.
Mechanical Troubleshooting
Understanding why your RV steps are not retracting all the way can be a challenge. The issue often lies within the mechanical components. This section will guide you through the troubleshooting process. Follow these steps to inspect the gears, chains, belts, and step linkage.
Gear Inspection
First, check the gears for any visible damage. Look for cracks, wear, or missing teeth. Damaged gears can prevent your steps from retracting fully. Rotate the gears manually. Ensure they move smoothly. If you find any issues, it may be time to replace the gears.
Chain Or Belt Conditions
Next, examine the chains or belts. Look for signs of wear, such as fraying or stretching. A worn chain or belt can cause retraction problems. Ensure the chain or belt is properly tensioned. If it is too loose or too tight, it can affect the step movement. Adjust or replace as needed.
Step Linkage
Finally, inspect the step linkage. This is the connection between the motor and the steps. Check for any bends, breaks, or obstructions. Ensure all bolts and screws are tight. A loose or damaged linkage can stop the steps from retracting. If you find any issues, repair or replace the linkage components.

Credit: www.rvwithtito.com
Professional Help
RVs offer a great way to travel and enjoy the outdoors. But when the steps don’t retract, it becomes a hassle. You might need to call a professional. This section will guide you through the process of seeking professional help.
When To Call A Technician
If your RV steps are not retracting, it can be a sign of a bigger issue. Minor troubleshooting does not always solve the problem. Call a technician if:
- The steps make strange noises.
- They are stuck and won’t move at all.
- The motor runs but steps don’t retract.
Waiting can make the problem worse. It is always better to seek help early.
Choosing A Repair Service
It is important to choose the right repair service for your RV. Consider these factors:
- Experience: Check if the service has experience with RV steps.
- Reviews: Look for customer reviews. They can tell you a lot.
- Certifications: Certified technicians are more reliable.
- Location: Choose a service close to your location to save time.
Doing some research can save you time and money.
Cost Considerations
The cost of repairing RV steps can vary. Here are some factors that affect the cost:
| Factor | Details |
|---|---|
| Type of Repair | Minor adjustments cost less than motor replacements. |
| Labor Rates | Rates vary by location and expertise of the technician. |
| Parts Needed | New parts can increase the overall cost. |
Always ask for an estimate before the repair starts. This helps avoid surprises.
Frequently Asked Questions
Why Are My Rv Steps Not Retracting?
Your RV steps may not retract due to electrical issues, mechanical obstructions, or faulty wiring. Regular maintenance can prevent these problems.
How Can I Fix Stuck Rv Steps?
Check for obstructions, ensure proper lubrication, and inspect electrical connections. If necessary, consult a professional for further diagnosis.
Are There Common Rv Step Retraction Issues?
Common issues include dirt build-up, electrical faults, or mechanical wear. Regular cleaning and inspection can help mitigate these problems.
Can Weather Affect Rv Step Retraction?
Yes, extreme weather conditions like ice or heavy rain can cause RV steps to stick. Regular maintenance helps prevent weather-related issues.
Conclusion
Fixing RV steps is crucial for safety and convenience. Regular maintenance prevents issues. Check electrical connections and mechanical parts often. Lubricate moving parts to ensure smooth operation. If problems persist, consult a professional. Safe travels and happy camping!


