
RV house batteries not charging while driving can be frustrating. This issue is common among RV owners.
Many factors can cause this problem. Understanding why your RV house batteries aren’t charging while driving is crucial. It can help you avoid being stranded without power. This guide will explore potential reasons behind the issue. From faulty wiring to malfunctioning alternators, many things could be at play.
Having a clear idea of what to check can save you time and money. So, let’s dive into the common causes and solutions. This way, you can ensure your RV batteries stay charged on the go.
Credit: sprinter-source.com
Initial Checks
One of the most frustrating issues RV owners face is discovering their house batteries are not charging while driving. Before diving into complex diagnostics, start with some initial checks. These simple steps can often pinpoint the problem and save you from unnecessary stress and expense.
Battery Connections
First, inspect the battery connections. Loose or corroded connections can prevent proper charging. Ensure all terminals are tight and clean. Use a wire brush to remove any corrosion. Check for any damaged cables. Replace frayed or broken ones immediately.
Fuse Inspection
Next, perform a fuse inspection. Fuses are critical components in your RV’s electrical system. A blown fuse can stop the charging process. Locate the fuse box and examine each fuse. Look for any signs of damage or discoloration. Replace any blown fuses with ones of the same rating.
Alternator Issues
Experiencing issues with your RV house batteries not charging while driving can be frustrating. One of the main culprits could be the alternator. The alternator plays a crucial role in charging your RV batteries while you’re on the road. Understanding its function and knowing the signs of potential problems can help you address this issue promptly.
Alternator Function
The alternator generates electrical power for your RV. It converts mechanical energy from the engine into electrical energy. This electrical energy charges the house batteries and powers other electrical systems in your RV.
It works by using a belt connected to the engine. As the engine runs, it turns the alternator’s rotor, generating electricity. This electricity is then directed to the RV batteries, keeping them charged and ready for use.
Signs Of Alternator Problems
There are several signs that your alternator might be failing. Pay attention to these symptoms to avoid getting stranded:
- Dim or Flickering Lights: If your RV’s headlights or interior lights are dimming or flickering, it could indicate an alternator issue.
- Battery Warning Light: A warning light on your dashboard is a clear sign. It often appears as a battery icon or “ALT” (alternator) symbol.
- Strange Noises: Unusual sounds, like grinding or whining, coming from the engine area can be a sign of a failing alternator.
- Dead Battery: If your battery dies frequently, the alternator might not be charging it properly.
If you notice any of these signs, it’s essential to get your alternator checked by a professional. A faulty alternator can lead to further electrical issues and leave you stranded.
Battery Health
Battery Health is crucial to ensure your RV runs smoothly. A healthy battery means reliable power while driving. It’s essential to monitor and maintain your battery’s health regularly. This section will guide you through testing battery voltage and recognizing signs of a bad battery.
Testing Battery Voltage
Testing the voltage of your RV battery is simple. Use a multimeter to check the voltage. Set the multimeter to DC voltage mode. Connect the red probe to the positive terminal and the black probe to the negative terminal. A fully charged battery should read around 12.6 volts. If it reads below 12.4 volts, your battery might be undercharged.
| Voltage Reading | Battery Status |
|---|---|
| 12.6V | Fully Charged |
| 12.4V | Undercharged |
| 12.0V | Low Charge |
| Below 12.0V | Discharged |
Signs Of A Bad Battery
Recognizing the signs of a bad battery is important. This ensures you address issues promptly. Here are some common signs:
- Difficulty starting your RV
- Dim headlights
- Low or fluctuating voltage readings
- Corrosion on battery terminals
- Swollen or bloated battery case
If you notice any of these signs, it’s time to inspect your battery. Regular checks can help you avoid unexpected breakdowns and keep your RV running efficiently.
Credit: www.gsowners.com
Wiring Problems
Wiring problems can prevent your RV house batteries from charging while driving. Identifying and fixing these issues ensures your batteries stay charged on the road. Poor connections or damaged wires are often the culprits. Let’s explore how to inspect and repair these critical components.
Inspecting Cables
First, check all battery cables. Look for loose connections or corrosion. Corroded cables can’t carry a charge efficiently. Clean any corrosion with a wire brush. Ensure all connections are tight. Loose cables disrupt the flow of electricity.
Repairing Damaged Wires
Next, inspect the wires for damage. Cracked or frayed wires can cause charging issues. Damaged wires should be replaced immediately. Use a wire cutter to remove the damaged section. Strip the ends of the new wire. Use wire connectors to secure the new wire in place.
Always double-check your work. Ensure all connections are secure and free from corrosion. This simple maintenance can keep your RV batteries charging while you drive.
Charge Controller
One crucial component in your RV’s electrical system is the charge controller. This device ensures your house batteries charge properly while driving. It regulates the voltage and current flowing from the alternator to the batteries. Let’s explore its role and how to check its settings.
Role Of Charge Controller
The charge controller prevents overcharging and potential damage to your batteries. It monitors the battery voltage levels and adjusts the charging process. This helps in maintaining battery health and longevity. Without it, your batteries might not receive the correct charge.
It also ensures the batteries receive a steady charge. This is vital for their performance. A steady charge means you can rely on your batteries for power when needed. The controller also helps in managing the power distribution efficiently.
Checking Controller Settings
First, locate the charge controller in your RV. It’s usually near the battery compartment. Check the user manual for its exact location. Once found, inspect the settings on the controller.
Look for voltage settings. Ensure they match the specifications for your batteries. Incorrect settings can prevent proper charging. You might need to adjust these settings if they are off.
Next, examine the current settings. The charge controller should limit the current to safe levels. This protects your batteries from overcurrent. If the current settings are too high, adjust them accordingly.
Finally, ensure all connections are secure. Loose connections can hinder the charging process. Tighten any loose wires and check for signs of wear. Regular maintenance helps keep your charge controller in good working order.

Credit: www.youtube.com
Grounding Issues
Grounding issues can be a common reason why RV house batteries do not charge while driving. Proper grounding ensures that the electrical system works efficiently. Poor grounding can lead to various problems, including charging issues.
Importance Of Proper Grounding
Proper grounding is crucial for any electrical system. It helps maintain a stable and safe flow of electricity. In an RV, good grounding ensures that all electrical components work well. Poor grounding can cause electrical faults. This can prevent the battery from charging.
Grounding connects the electrical system to the Earth. This helps to prevent electrical shocks. It also protects against electrical fires. Without good grounding, the battery system can malfunction. This can leave you stranded with a dead battery.
Testing Ground Connections
Testing ground connections is essential to identify any grounding issues. Use a multimeter to check the ground connections. Set the multimeter to measure resistance. Place one probe on the battery ground terminal. Place the other probe on the RV chassis.
Check the reading on the multimeter. A low resistance means the ground connection is good. A high resistance indicates a poor ground connection. Clean the ground terminals to ensure a better connection. Tighten any loose connections to improve grounding.
Regularly inspect the ground wires for wear and tear. Replace damaged wires to maintain proper grounding. Good grounding ensures your RV battery charges while driving.
Expert Assistance
When your RV house batteries are not charging while driving, it can be a frustrating issue. Sometimes, the best solution is to seek expert assistance. Professional help ensures that the problem is correctly diagnosed and fixed. This section will guide you on when to consult a professional and how to choose a reliable technician.
When To Consult A Professional
There are specific signs that indicate you need professional help:
- Persistent Charging Issues: If you have tried troubleshooting and the problem persists.
- Electrical System Concerns: When you suspect a more significant issue within the RV’s electrical system.
- Lack of Technical Knowledge: If you are not confident in your ability to diagnose and repair the issue.
Consulting a professional can save time and prevent further damage.
Choosing A Reliable Technician
Finding the right technician is crucial. Consider these factors:
| Factor | Details |
|---|---|
| Experience | Ensure the technician has experience with RV electrical systems. |
| Reputation | Look for reviews and ask for recommendations. |
| Certifications | Check if they hold certifications from reputable organizations. |
| Warranty | Ensure they offer a warranty on their work. |
Choosing the right technician ensures a lasting solution to your RV’s charging issues.
Preventive Measures
Ensuring your RV house batteries charge while driving is crucial. It keeps your travel plans uninterrupted and all devices powered. Implementing preventive measures can save you time and stress. Let’s explore some effective strategies.
Regular Maintenance Tips
Check the battery connections regularly. Loose or corroded connections can cause charging issues. Clean the terminals with a mixture of baking soda and water. Use a wire brush for any stubborn corrosion.
Test your battery’s voltage frequently. A fully charged battery should read about 12.6 volts when the engine is off. If the voltage is lower, your battery may need to be charged or replaced.
Inspect the alternator belt for wear and tear. A worn belt can prevent the alternator from charging the battery properly. Replace the belt if it appears cracked or frayed.
Upgrading Charging Systems
Consider upgrading to a smart charging system. These systems optimize the charging process and prevent overcharging. They can extend the life of your batteries.
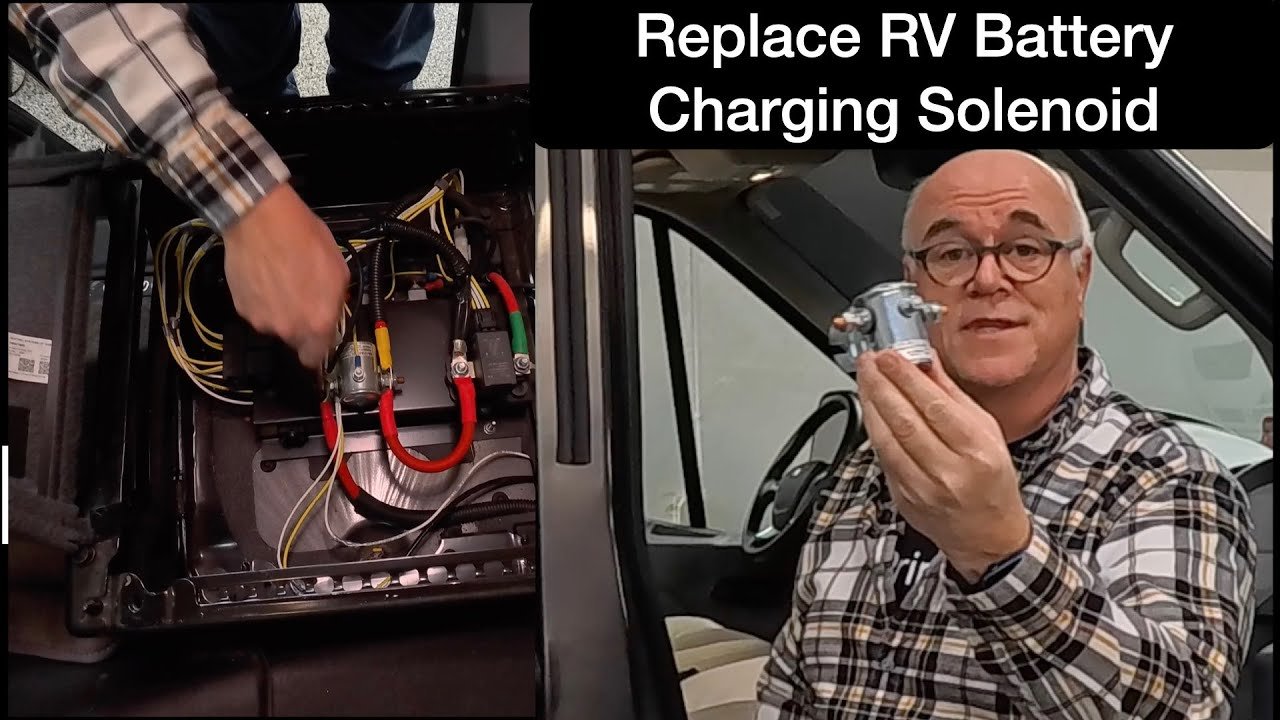
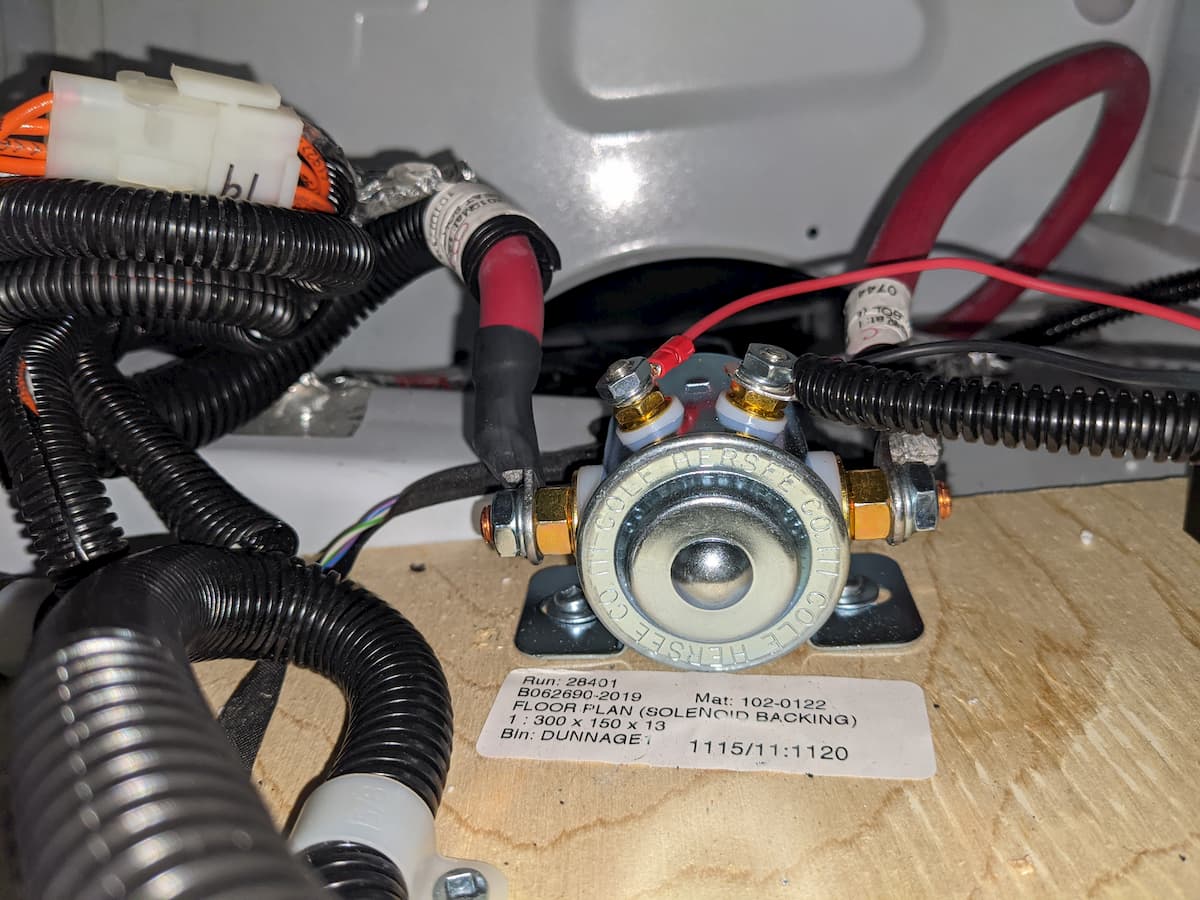
Install a battery isolator. It allows your engine to charge both the starter and house batteries. This ensures your house batteries charge while driving without draining the starter battery.
Use a high-output alternator. It provides more power to charge your batteries faster and more efficiently. This upgrade can be especially useful for those with high power demands.
By following these preventive measures, you can keep your RV house batteries in top condition. This ensures they charge while driving, keeping your adventures powered and hassle-free.
Frequently Asked Questions
Why Are My Rv House Batteries Not Charging?
Your RV house batteries may not be charging due to a faulty alternator, broken wiring, or a bad battery isolator.
How Can I Fix Rv House Battery Charging Issues?
Check the alternator, battery isolator, and wiring. Replace or repair faulty components to restore charging functionality.
Can A Bad Alternator Affect Rv House Batteries?
Yes, a bad alternator can prevent your RV house batteries from charging properly while driving.
How Often Should I Check My Rv Batteries?
You should check your RV batteries at least once a month to ensure they are in good condition.
Conclusion
Fixing RV house batteries not charging while driving requires attention. Check connections first. Inspect alternator and wiring. Consider installing a battery isolator. Regular maintenance is essential. Seek professional help if needed. A well-functioning system ensures a smooth journey. Always stay prepared and vigilant.
Safe travels!


