
Removing lap sealant from an RV roof can be tricky but necessary. Proper removal ensures a clean surface for new sealant application and prevents leaks.
Maintaining your RV roof is crucial for its longevity. Over time, lap sealant can degrade, crack, or become difficult to remove. Knowing the right steps to remove old sealant can save you time and frustration. In this guide, we’ll provide clear, easy-to-follow instructions to help you remove lap sealant effectively.
Whether you’re a seasoned RV owner or new to RV maintenance, these tips will make the process smoother and more efficient. Let’s get started on achieving a clean, well-prepped RV roof.

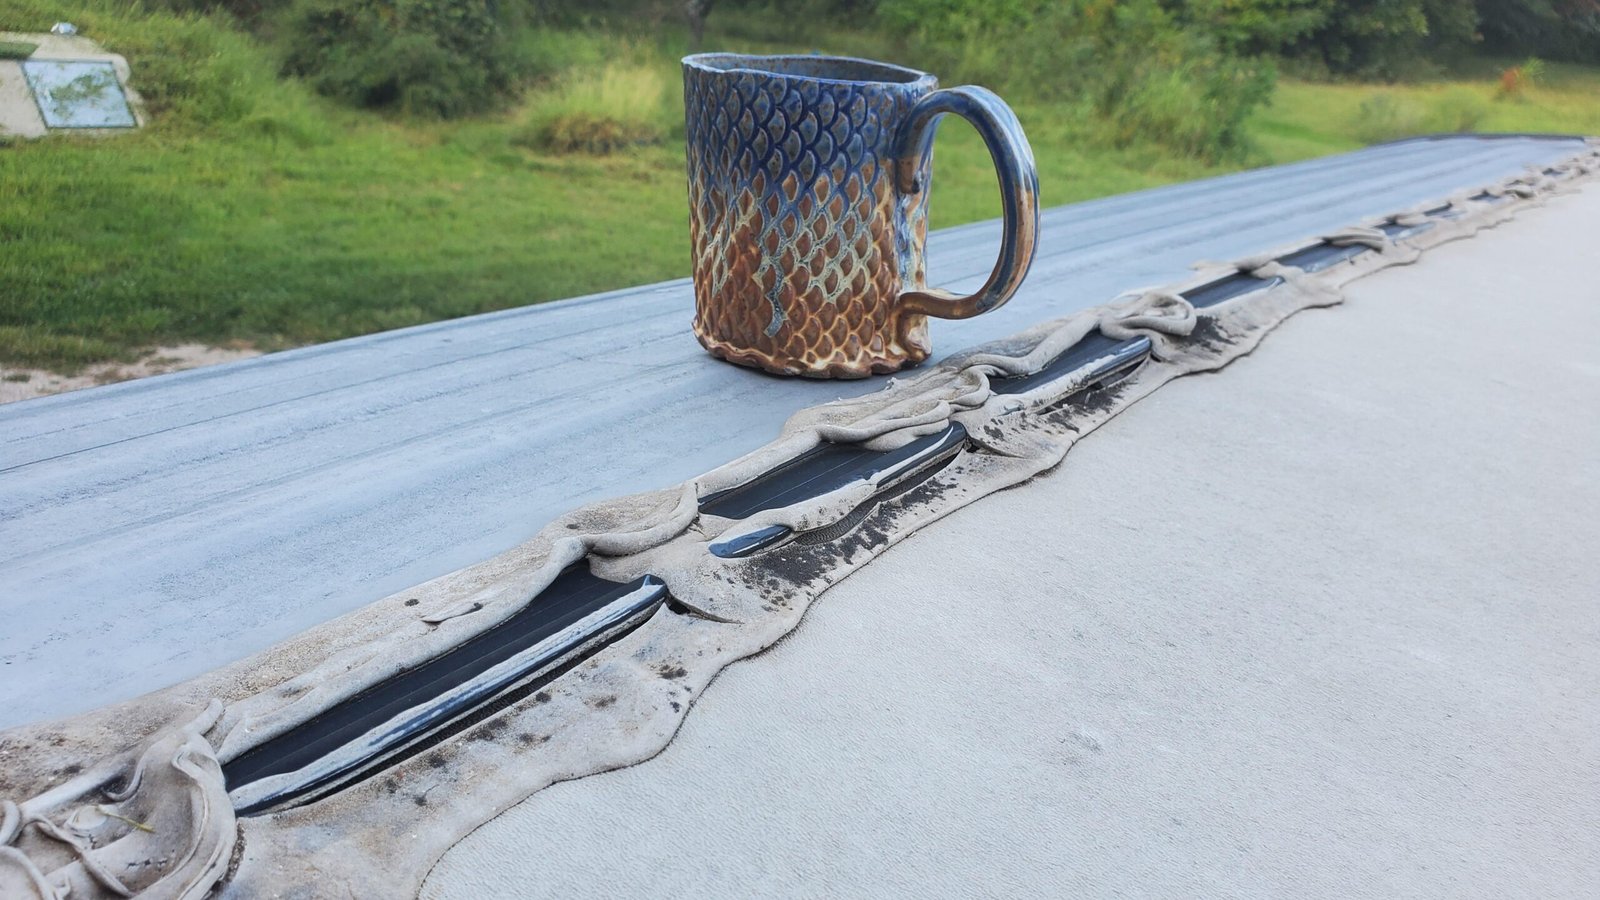
Credit: www.reddit.com
Introduction To Lap Sealant Removal
Maintaining your RV roof is crucial for its longevity. One key aspect is removing old lap sealant. This ensures your RV stays leak-free and in top condition. In this section, we will explore the importance of removing old sealant and the potential risks of ignoring sealant maintenance.
Importance Of Removing Old Sealant
Old sealant can crack and peel over time. This can lead to leaks and water damage. Removing it allows for a fresh application. A new layer of sealant ensures better protection. Proper sealant removal helps maintain the integrity of your RV roof.
- Prevents leaks
- Stops water damage
- Ensures proper adhesion of new sealant
Old sealant can also trap dirt and debris. This makes it hard for the new sealant to stick. Clean surfaces ensure a strong bond. Regular maintenance of sealant helps you avoid costly repairs.
Potential Risks Of Ignoring Sealant Maintenance
Ignoring sealant maintenance can lead to many problems. Water leaks are the most common issue. Leaks can cause significant damage to the interior of your RV. This includes mold growth and structural damage. Mold can pose health risks to you and your family.
- Water leaks
- Mold growth
- Structural damage
- Costly repairs
Structural damage can weaken the frame of your RV. This can compromise safety. Regularly checking and maintaining sealant can prevent these risks. It saves you money in the long run. Proper sealant maintenance ensures your RV stays in good shape for years.
Credit: www.youtube.com
Tools And Materials Needed
Removing lap sealant from your RV roof can be a meticulous process. To do it efficiently, having the right tools and materials is crucial. This section will guide you through the essential tools, recommended safety gear, and additional supplies you will need. Let’s make sure your RV roof is clean and ready for fresh sealant.
Essential Tools
To remove lap sealant effectively, you will need these tools:
- Putty knife: A flexible putty knife helps scrape off the old sealant.
- Heat gun: Softens the sealant, making it easier to remove.
- Utility knife: Useful for cutting through tough areas.
- Scraper: An additional scraper can help with stubborn spots.
Recommended Safety Gear
Safety should always be a priority. Make sure to have the following gear:
- Gloves: Protect your hands from cuts and chemicals.
- Safety goggles: Shield your eyes from debris.
- Long-sleeve shirt and pants: Minimize skin exposure.
Additional Supplies
These additional supplies will help ensure a thorough job:
- Cleaning solvent: Dissolves any remaining residue.
- Rags or paper towels: Wipe away solvent and debris.
- Plastic bags: Dispose of old sealant and used materials.
Preparation Steps
Removing lap sealant from your RV roof requires proper preparation. Taking the time to prepare the roof ensures a smooth and effective process. Let’s dive into the key steps involved in preparation.
Cleaning The Roof Surface
The first step is to clean the roof surface. This removes dirt and debris, providing a clean workspace. Follow these steps:
- Use a broom to sweep away loose dirt and leaves.
- Mix mild detergent with water in a bucket.
- Scrub the roof with a soft brush and the detergent solution.
- Rinse thoroughly with clean water.
- Allow the roof to dry completely.
Clean surfaces ensure the new sealant adheres properly.
Inspecting The Sealant Condition
Next, inspect the sealant condition to identify areas that need attention. Follow these steps:
- Examine the entire roof for cracks, gaps, and worn-out areas.
- Use a flashlight to spot hidden damages.
- Mark problematic areas with a marker or tape.
Inspecting the sealant helps you understand the extent of removal needed. This step is crucial for effective maintenance.
By following these preparation steps, you ensure a successful lap sealant removal process. A clean and inspected roof sets the stage for applying new sealant.
Removing Old Lap Sealant
Removing old lap sealant from an RV roof can be a daunting task. It is essential for maintaining a leak-free and well-protected RV. Old sealant can crack, become brittle, and lose its effectiveness. Below are some practical steps to make this process easier.
Softening The Sealant
Softening the old sealant helps in its removal. Use a heat gun or hairdryer to warm the sealant. This makes it more pliable and easier to work with. Be careful not to overheat, as this can damage the roof material.
Move the heat source in a circular motion, ensuring even distribution. This prevents any damage and ensures that the sealant softens uniformly.
Scraping Off The Sealant
Once the sealant is soft, use a plastic scraper to remove it. Avoid metal tools as they can scratch the roof. Gently scrape in small sections, working your way across the roof.
If the sealant is stubborn, reapply heat and try again. Patience is key to avoiding damage to the roof surface.
Using Chemical Removers
Chemical removers can help in dissolving the sealant. Choose a remover that is safe for your RV’s roofing material. Follow the manufacturer’s instructions carefully.
Apply the remover using a brush or cloth. Allow it to sit for the recommended time. Scrape off the dissolved sealant with a plastic scraper.
Rinse the area with water to remove any chemical residue. Ensure the roof is completely dry before applying new sealant.
| Step | Description |
|---|---|
| Softening | Heat the sealant using a heat gun or hairdryer. |
| Scraping | Remove the softened sealant with a plastic scraper. |
| Chemicals | Apply chemical remover and scrape off the dissolved sealant. |
Cleaning Residual Sealant
Removing lap sealant from your RV roof can be a daunting task. After scraping off the bulk of the sealant, you need to clean the residual sealant. This ensures a smooth and clean surface for new sealant application. Below are effective methods for cleaning residual sealant from your RV roof.
Using A Solvent Cleaner
Solvent cleaners are effective in removing stubborn sealant residues. They break down the remaining sealant without damaging the roof.
- Choose an appropriate solvent cleaner. Mineral spirits or acetone work well.
- Apply the solvent cleaner using a cloth or sponge. Be generous but avoid excess.
- Let the solvent sit for a few minutes. This softens the sealant.
- Scrub the area gently with a plastic scraper or brush. Avoid metal tools to prevent damage.
Wiping Down The Surface
After using the solvent cleaner, wiping down the surface is crucial. This step ensures that no residue is left behind.
- Use a clean, dry cloth to wipe the area. Microfiber cloths work best.
- Wipe in circular motions. This ensures all solvent and sealant residues are removed.
- Inspect the surface for any remaining sealant. Repeat the process if necessary.
- Allow the surface to dry completely. This prepares it for new sealant application.
Cleaning residual sealant is essential for maintaining your RV roof. By following these steps, you can ensure a clean and prepared surface for new sealant.
Repairing Roof Damage
Repairing roof damage on your RV is crucial. Even small cracks can lead to big problems. You need to address them quickly to avoid costly repairs. Knowing how to spot potential damage is the first step.
Identifying Potential Damage
Examine your RV roof carefully. Look for any cracks, bubbles, or soft spots. These signs often indicate damage. Also, check for discolored areas. They might suggest water has seeped in.
Pay close attention to seals and edges. These areas are prone to wear and tear. Regular inspection helps you catch issues early. Early detection can save time and money.
Repair Techniques For Small Cracks
Small cracks are common and easy to fix. Clean the area around the crack first. Remove any dirt or debris. Use a soft cloth to avoid further damage.
Apply a roof sealant designed for RVs. Follow the instructions on the product label. Use a putty knife to spread the sealant evenly. Make sure it covers the entire crack.
Allow the sealant to dry completely. This usually takes a few hours. After drying, inspect the repair. Ensure the crack is fully sealed. If needed, apply a second layer of sealant.
Regular maintenance helps prevent future cracks. Check your roof frequently. Address any new issues as soon as they appear. This keeps your RV in good condition.
Applying New Lap Sealant
Applying new lap sealant to your RV roof can seem daunting. But with the right tools and techniques, it becomes manageable. This guide will help you through the process. Let’s ensure your RV roof stays leak-free and in top condition.
Choosing The Right Sealant
Selecting the proper sealant is crucial. Not all sealants work for RV roofs. Look for a product designed for RVs. It should be flexible and UV resistant. Check the label for compatibility with your roof material. This ensures a strong and lasting seal.
Application Techniques
Proper application is key to success. First, ensure the surface is clean and dry. Use a caulking gun for even distribution. Apply the sealant in a continuous bead. Avoid breaks that could lead to leaks. Smooth the bead with a tool or your finger. This helps it adhere better.
Curing Time And Final Checks
After applying the sealant, let it cure. This may take 24 to 48 hours. Check the sealant instructions for exact times. During this period, avoid exposing the area to water. Once cured, inspect your work. Look for gaps or bubbles. Address any issues promptly to ensure a secure seal.

Credit: www.reddit.com
Maintenance Tips
Maintaining your RV roof is crucial for its longevity. Removing lap sealant properly is part of this maintenance. Let’s delve into some tips that can help you keep your RV roof in top shape.
Regular Inspection Schedule
Set a regular inspection schedule for your RV roof. Check for cracks or worn-out sealant. Inspect every three months to catch issues early. Use a ladder to get a good view of the roof. Look for any signs of leaks or damage. Early detection saves time and money.
Common Mistakes To Avoid
Avoid using harsh chemicals to remove lap sealant. They can damage the roof material. Do not rush the removal process. Take your time to avoid damaging the roof. Using the wrong tools can also cause damage. Always use tools designed for RV roof maintenance. Lastly, don’t ignore small issues. They can become bigger problems over time.
Frequently Asked Questions
How To Safely Remove Lap Sealant?
Use a plastic scraper to gently lift the sealant. Apply a sealant remover and let it sit. Scrape off the loosened material carefully. Clean the surface with soap and water.
Can I Use Heat To Remove Lap Sealant?
Yes, you can use a heat gun. Heat softens the sealant, making it easier to scrape off. Be cautious to avoid damaging the roof.
What Tools Are Needed To Remove Lap Sealant?
You will need a plastic scraper, a heat gun, sealant remover, and cleaning supplies. Always wear gloves for protection.
How To Clean The Roof After Removing Sealant?
Use soap and water to clean the surface. Rinse thoroughly and let it dry completely before applying new sealant.
Conclusion
Removing lap sealant from your RV roof can be simple. Follow the steps carefully. Use the right tools and products. Take your time to avoid damage. Regular maintenance keeps your RV in top shape. Clean and reseal your roof as needed.
Proper care extends the life of your RV. Happy travels and safe adventures!


