
Emptying the fresh water tank in your RV is simple. First, you need to locate the tank’s drain valve.
Then, open the valve to let the water out. Maintaining your RV’s fresh water system is crucial. Regularly emptying the tank helps prevent odors and bacteria. It also ensures you have clean water for your trips. This process is easy and doesn’t take much time.
In this guide, we will walk you through the steps to empty your RV’s fresh water tank. Whether you’re new to RVing or a seasoned traveler, these tips will help you keep your water system clean and reliable. Let’s get started!
Preparation
Proper preparation is crucial before emptying your RV’s fresh water tank. This ensures a smooth process and prevents any potential mishaps. Let’s delve into the key steps involved in preparing for this task.
Gather Tools
First, gather all the necessary tools. You will need a hose, a wrench, and a bucket. A pair of gloves can also be helpful. These tools will make the task easier and more efficient.
Safety Precautions
Next, focus on safety precautions. Turn off the water pump to avoid any accidents. Ensure the RV is on a level surface to prevent spills. Wear gloves to protect your hands from any contaminants. Safety is key to a smooth operation.
Locate The Fresh Water Tank
Knowing how to empty the fresh water tank in your RV is essential. A crucial step in this process is to locate the fresh water tank. This section will guide you through finding your RV’s fresh water tank easily.
Check Rv Manual
Begin by consulting your RV manual. The manual provides detailed information on the location of the fresh water tank. It includes diagrams and instructions specific to your RV model. Manuals are an invaluable resource for any RV owner.
Identify Tank Position
Once you have checked the manual, it’s time to identify the tank position. The fresh water tank is often located under the RV, close to the rear. Look for a large, rectangular tank attached to the chassis. If you can’t find it, refer back to the manual for more clues.
| Step | Description |
|---|---|
| 1 | Consult the RV manual |
| 2 | Check under the RV |
| 3 | Look for a large rectangular tank |
By following these steps, you will easily locate your RV’s fresh water tank. This will make the process of emptying it much more straightforward.
Turn Off Water Pump
To empty your fresh water tank in your RV, you need to turn off the water pump first. This step is crucial to prevent any water flow while draining the tank. Follow these simple steps to ensure your water pump is properly turned off.
Access Pump Switch
First, locate the water pump switch in your RV. It is usually near the control panel. If unsure, check your RV’s manual for the exact location. This switch controls the power to the water pump.
Ensure Pump Is Off
Once you find the switch, make sure it is in the “off” position. Look for an indicator light. The light should be off if the pump is off. Double-check to avoid any mishaps. With the pump off, you can safely proceed to empty the tank.
Attach A Hose
Emptying the fresh water tank in your RV is crucial for maintenance. One key step in this process is to attach a hose. This ensures the water drains properly. Let’s break down the steps.
Select Appropriate Hose
First, choose the right hose. Not all hoses are suitable. You need one that is durable and long enough to reach your drain area. A typical garden hose works well. Ensure it is clean and free from cracks.
| Hose Type | Durability |
|---|---|
| Garden Hose | High |
| Flexible Hose | Medium |
| Lightweight Hose | Low |
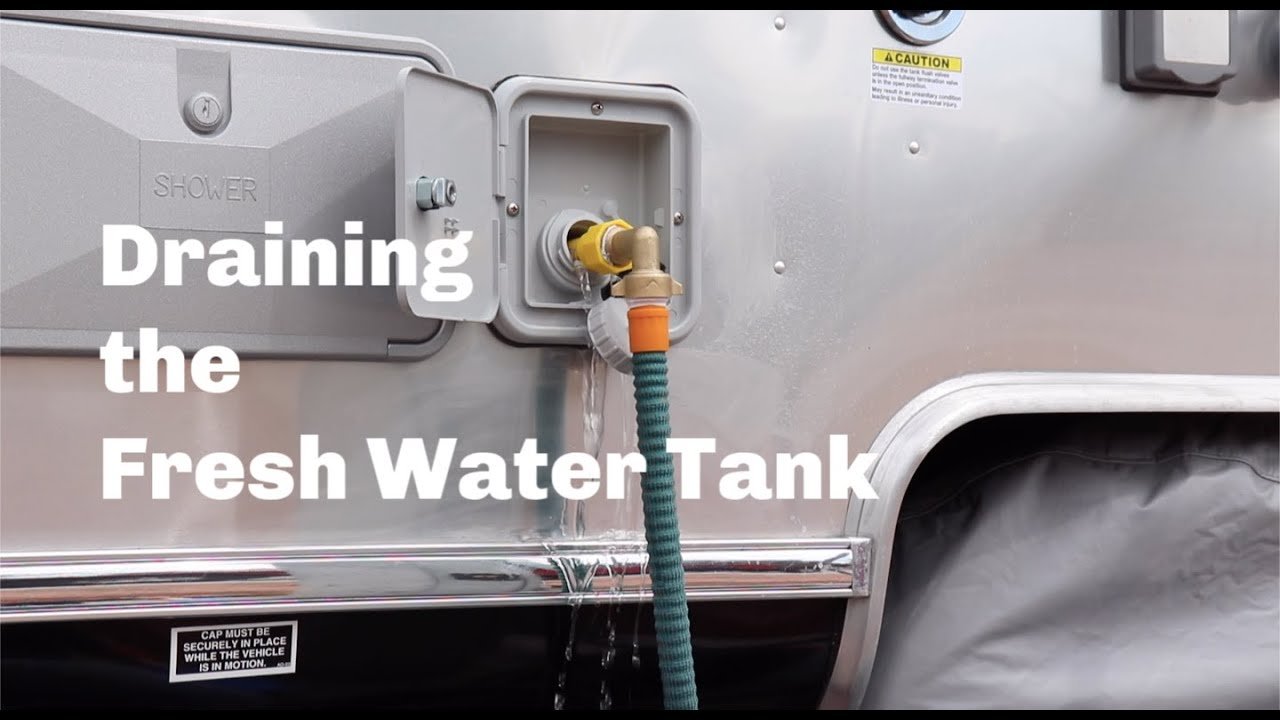
Connect To Drain Valve
Now, connect the hose to the drain valve of the fresh water tank. Locate the drain valve, usually found under the RV. It is a small spigot or lever. Twist or attach the hose securely.
- Locate the drain valve under the RV.
- Attach the hose to the valve.
- Ensure the connection is tight.
Once connected, ensure the hose end is positioned where the water can safely flow out. This could be a drain, a bucket, or away from the RV. Open the valve and let the water flow. Monitor the process to avoid any issues.
Open Drain Valve
To empty the fresh water tank in your RV, you need to open the drain valve. This step is crucial for maintaining your RV’s water system. Ensure you follow the steps carefully to avoid any damage or spillage.
Locate Valve
First, find the drain valve. It is usually at the bottom of the fresh water tank. Check your RV manual if you are unsure. The valve may be hidden behind a small panel or under the RV.
Open Carefully
Once you have located the valve, open it slowly. Turn the valve counterclockwise to open. Be gentle to prevent any breakage. Water will start flowing out. Ensure you have a bucket or hose ready to direct the water away from your RV.
Credit: www.keystoneforums.com
Monitor Water Flow
Monitoring the water flow is crucial when emptying the fresh water tank in your RV. It ensures that you drain the tank effectively and avoid potential issues. Follow these steps to monitor the water flow and ensure a smooth process.
Check Hose Connection
Start by checking the hose connection. Ensure the hose is securely attached to the tank’s drain valve. A loose connection can lead to leaks and incomplete drainage. Tighten the hose if necessary to avoid any water wastage.
Ensure Complete Drainage
Observe the water flow to ensure complete drainage. Watch the water as it flows out from the tank. The flow should be steady and consistent. If it slows down or stops, check for blockages in the hose or valve. Clear any obstructions to maintain a smooth flow.
Close Drain Valve
Emptying the fresh water tank in your RV is essential for maintenance. The first step is to close the drain valve. This task ensures no fresh water leaks out when you don’t want it to.
Confirm Tank Is Empty
Before closing the drain valve, confirm the tank is empty. Check the tank gauge for accuracy. If your RV doesn’t have a gauge, visually inspect the tank. You can also listen for the absence of water flow.
Secure Valve Tightly
Once you’re sure the tank is empty, it’s time to secure the valve tightly. This step prevents any residual water from leaking out. Use a wrench if needed for a snug fit. Avoid over-tightening to prevent damage.
Here’s a quick checklist:
- Check tank gauge or inspect visually
- Ensure no water flow sound
- Close valve with a wrench
- Check for snug fit
By following these steps, you can maintain your RV’s fresh water system effectively.

Credit: www.youtube.com
Clean And Store Equipment
Maintaining your RV is crucial for a smooth journey. After emptying the fresh water tank, it is important to clean and store equipment properly. This ensures everything stays in good shape for your next trip. Below are some steps to follow.
Disconnect Hose
Start by turning off the water supply. Then, gently disconnect the hose from the RV. Be careful not to damage the hose or connections. Ensure all water has drained out of the hose to prevent mold.
Store Tools Properly
After disconnecting, store your tools in a clean and dry place. This includes the hose, connectors, and any other equipment used. Use a storage bag or box to keep everything organized.
Here is a simple storage checklist:
- Ensure tools are dry
- Check for any damage
- Store in a cool, dry place
- Keep all parts together
Proper storage extends the life of your equipment and keeps your RV ready for the next adventure.
Credit: www.airforums.com
Frequently Asked Questions
How Often Should I Empty My Rv Fresh Water Tank?
You should empty your RV’s fresh water tank every two weeks. This prevents bacteria buildup and ensures clean water. Regular maintenance is essential.
Can I Empty My Rv Water Tank At Home?
Yes, you can empty it at home. Make sure to dispose of the water responsibly. Avoid draining it into sensitive areas.
What Tools Do I Need To Empty The Tank?
You typically need a hose and a designated drainage area. Ensure your RV is positioned properly for drainage.
Why Is It Important To Empty The Water Tank?
Emptying the tank prevents stagnant water and bacteria. It ensures your water supply remains fresh and safe for use.
Conclusion
Emptying your RV’s fresh water tank is essential. Follow these simple steps. Start by turning off the water pump. Open the tank’s drain valve. Let the water flow out completely. Close the valve once emptied. Clean the tank if needed.
Use a mild detergent. Rinse thoroughly to avoid residue. Regular maintenance keeps your RV in good shape. Always check for leaks. Proper care ensures a smooth journey. Happy travels with a well-maintained RV!


