
Making a 50 amp RV extension cord seems daunting. But it’s quite manageable.
With some basic tools and steps, you can create one on your own. RVing offers the freedom to explore with all the comforts of home. Sometimes, though, you need extra length to connect your RV to power sources. That’s where a reliable 50 amp RV extension cord comes in handy.
Building your own extension cord saves money and ensures you have a durable, custom-length solution. Today, we’ll guide you through the process, detailing each step. You’ll learn about the necessary tools, materials, and safety precautions. By the end, you’ll have a functional extension cord, ready for your next adventure. Let’s dive in!
Materials Needed
Creating a 50 Amp RV extension cord is a straightforward task. First, gather the right materials. This ensures a smooth and safe process. Let’s begin by listing the essential tools and components.
Required Tools
- Wire Strippers: To remove insulation from the wires.
- Screwdriver: For tightening terminal connections.
- Utility Knife: For cutting the extension cord to length.
- Multimeter: To check the continuity and safety of the connections.
- Electrical Tape: For securing and insulating connections.
- Heat Shrink Tubing: To provide extra protection for the connections.
Necessary Components
| Component | Description |
|---|---|
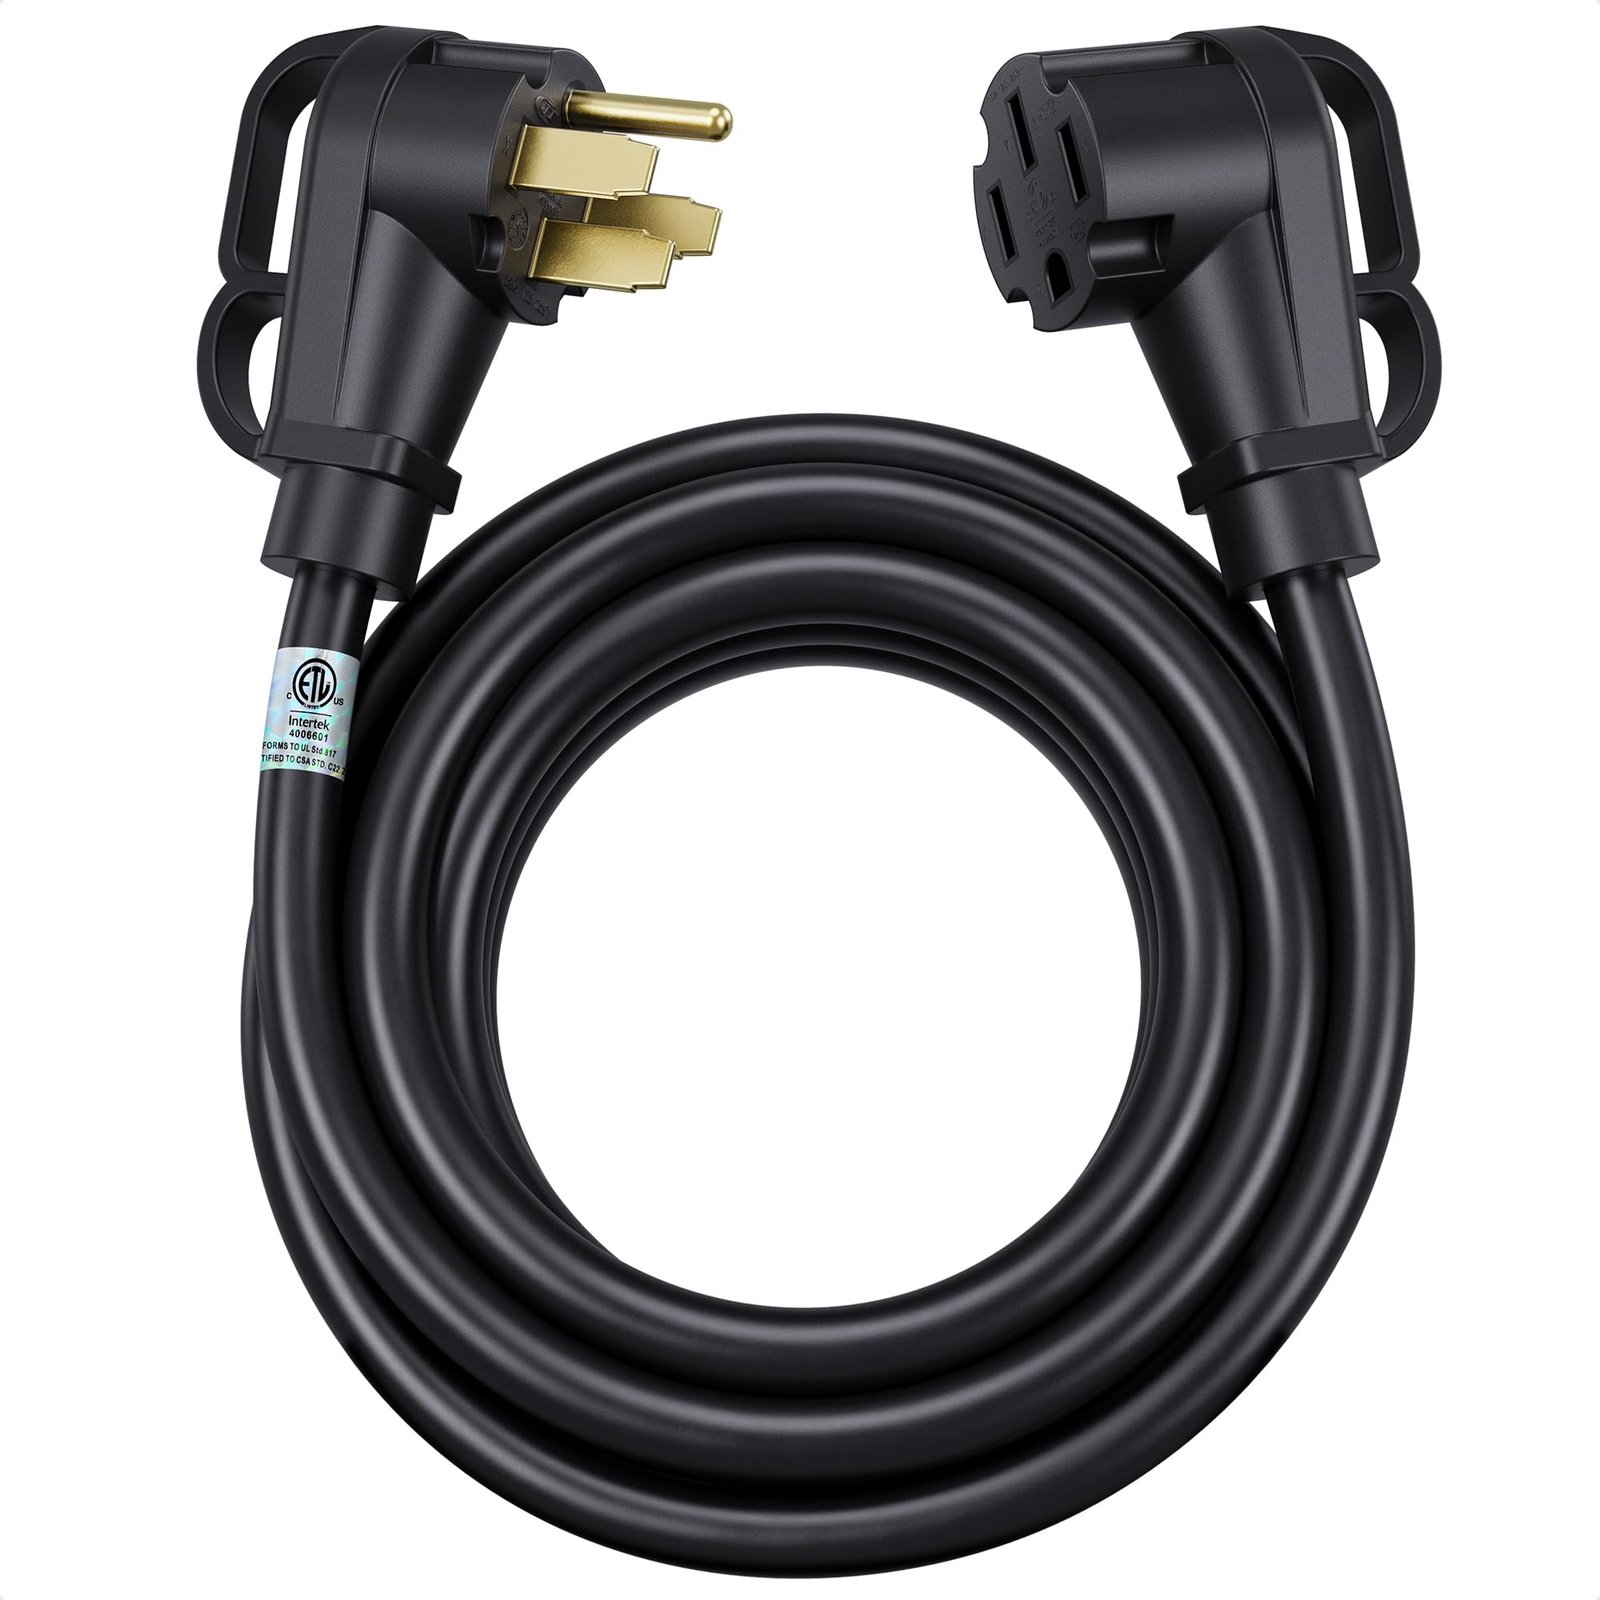
| 50 Amp Extension Cord | A flexible and durable cable, usually 6/3 + 8/1 gauge. |
| 50 Amp Male Plug | To connect to the power source. Ensure it matches your RV’s plug. |
| 50 Amp Female Connector | To connect to the RV’s power inlet. Must be compatible with your RV. |
Having these tools and components will make the process simpler and safer. Ensuring everything is in place before starting will save time.
Safety Precautions
Always wear insulated gloves to prevent shocks. Ensure the power is off before starting. Use proper tools to avoid accidents.
Creating a 50 Amp RV extension cord requires careful attention to safety. Following safety precautions ensures you avoid accidents and injuries. This section covers essential safety tips.
Protective Gear
Always wear protective gear. Gloves protect your hands from cuts and shocks. Safety goggles shield your eyes from sparks and debris. Long sleeves and pants prevent burns and abrasions.
Electrical Safety Tips
Never work on live wires. Ensure the power source is off before starting. Double-check connections to prevent short circuits. Use a multimeter to test for live electricity. Keep your workspace dry to avoid electric shocks. Avoid using damaged tools and materials. Proper handling of wires is crucial. Strip wires carefully to avoid damaging them. Use the correct gauge wire for the amperage. Secure connections with wire nuts or crimp connectors. Inspect your work to ensure there are no loose connections. Keep extension cords away from water and flammable materials. Following these safety tips helps you create a safe and functional 50 Amp RV extension cord. “`
Choosing The Right Cable
Creating a 50 Amp RV extension cord is a practical project. But first, you need to choose the right cable. This ensures safety and efficiency. Follow these steps to make an informed decision.
Cable Specifications
Choosing the right cable is crucial. The cable must handle 50 amps of current. Look for cables labeled as “50 Amp”. They usually have three wires. These are hot, neutral, and ground. The right cable will have a thick insulation. This protects the wires and prevents overheating.
Consider the wire gauge too. For a 50 Amp cord, a 6-gauge wire is ideal. It can handle the load without heating up. Make sure to verify the specifications. This prevents potential electrical hazards.
Length Considerations
The length of the cable affects its performance. Longer cables can experience voltage drop. This can reduce efficiency. A length of 25 to 50 feet is usually sufficient. For longer distances, consider using multiple shorter cables. This maintains voltage and prevents power loss.
Check the distance from the power source to the RV. Measure this distance before cutting the cable. This ensures you have enough length. Also, consider the layout of your campsite. A longer cable may be necessary for some setups.
| Length (Feet) | Recommended Use |
|---|---|
| 25 | Short distance, close to power source |
| 50 | Medium distance, average campsite |
| 75+ | Long distance, multiple cables recommended |
Choose the right cable length for your needs. This ensures efficiency and safety.
Preparing The Cable
Preparing the cable is a crucial step in making a 50 Amp RV extension cord. This process involves measuring, cutting, and stripping the cable correctly. Proper preparation ensures safety and reliability. Let’s dive into the details of each step.
Measuring And Cutting
First, determine the length of the extension cord you need. Use a measuring tape for accuracy. Mark the cable at the desired length. Ensure your measurements are precise. Cut the cable at the marked spot using a cable cutter. A clean cut is essential. It helps in the next steps.
Stripping The Insulation
Next, remove the outer insulation of the cable. Use a utility knife or cable stripper. Be careful not to cut the internal wires. Strip about 2 inches of insulation from the end. This exposes the internal wires. You will see three wires: black, white, and green. Each wire has its own insulation. Strip about 1/2 inch of insulation from each wire. Use a wire stripper for this task. Ensure the wires are not damaged.
Attaching The Plug
Making a 50 amp RV extension cord can be a useful skill. Attaching the plug correctly ensures safety and efficiency. Follow these steps to attach the plug securely and safely.
Wiring The Plug
First, strip the outer jacket of the extension cord. Expose about 6 inches of the inner wires. You will find four wires: black, red, white, and green. Each color has a specific role. The black and red wires are hot. The white wire is neutral. The green wire is ground.
Next, strip about 1/2 inch of insulation from each wire. Insert the wires into the correct terminals on the plug. Match the wire colors with the terminal colors. Tighten the screws to hold the wires in place.
Securing The Connections
After wiring, check each connection. Ensure all wires are secure. Loose wires can cause short circuits or electric shocks. Tug each wire gently to test the connection.
Once secure, close the plug casing. Use the screws provided to fasten the casing. Make sure the casing is tight and secure. This protects the wires and prevents any exposure.
Test the extension cord before using it. Plug it into a power source and check for any issues. Properly attached plugs ensure safe and efficient power delivery.

Credit: trekpower.com
Attaching The Receptacle
Attaching the receptacle is a crucial step in making your 50 amp RV extension cord. This part ensures the proper connection of wires to provide a safe and reliable power source. Follow these steps carefully to ensure a secure and efficient setup.
Connecting The Wires
Start by stripping about half an inch of insulation from the end of each wire. You will find four wires: black, white, green, and red. These wires need to be connected to the correct terminals on the receptacle.
Connect the black wire to the brass terminal. Connect the white wire to the silver terminal. Attach the green wire to the green terminal, which is the ground. Lastly, connect the red wire to the remaining terminal, which is usually another brass one.
Ensuring A Tight Fit
Once you have connected the wires, ensure they are tightly secured. Loose connections can cause overheating and potential hazards. Use a screwdriver to tighten each terminal screw firmly.
After tightening, give each wire a gentle tug to make sure they are firmly connected. Double-check each connection to ensure everything is in place.
A secure fit ensures that your RV extension cord will work safely and efficiently, providing you with reliable power for your adventures.
Testing The Extension Cord
Testing your 50 Amp RV extension cord is crucial. It ensures safety and functionality. This step verifies your work and prevents potential hazards. Follow these simple steps to test your extension cord effectively.
Conducting A Continuity Test
First, ensure your multimeter is set to the continuity mode. This mode checks if the wires are connected properly. Place one probe on one end of the cord. Then place the other probe on the corresponding wire at the other end. If the multimeter beeps, the wire is good. Repeat this for all wires in the cord. This test confirms that there are no breaks in the wires.
Checking For Electrical Flow
Next, plug in the extension cord to a power source. Use a voltage tester to check for electrical flow. Insert the tester probes into the cord’s outlet. The tester should indicate the presence of voltage. This confirms that electricity flows through the cord. Ensure that the voltage matches the expected 50 amps. This step verifies that your extension cord is ready for use.
Follow these steps to ensure your extension cord is safe. Testing prevents electrical issues and ensures smooth operation.
Credit: www.homedepot.com
Storing And Maintenance Tips
Proper storage and regular maintenance of your 50 Amp RV extension cord are crucial. They ensure safety and longevity. Follow these simple tips to keep your extension cord in top shape.
Proper Storage
Storing your 50 Amp RV extension cord correctly prevents damage. When not in use, store it in a cool, dry place. Avoid areas with high humidity to prevent rust and corrosion.
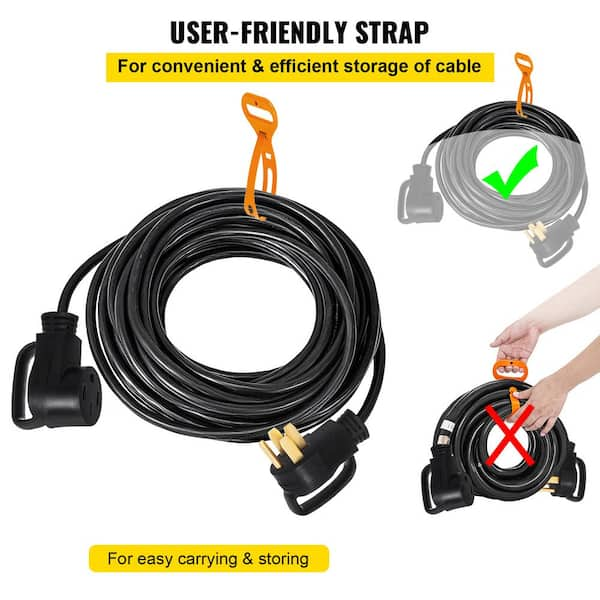
- Coil the cord neatly to avoid kinks and tangles.
- Use a cord reel or a storage bag for better organization.
- Keep the cord away from direct sunlight. UV rays can damage the insulation.
Proper storage can extend the life of your extension cord.
Regular Inspection
Regular inspection helps identify potential issues early. Inspect the cord before and after each use.
- Check for cuts or abrasions on the insulation.
- Ensure the connectors are clean and free of debris.
- Look for signs of fraying or wear on the cord.
If you find any damage, repair or replace the cord immediately. Using a damaged cord can be dangerous.
Frequently Asked Questions
What Materials Are Needed To Make A 50 Amp Rv Extension Cord?
You need a 50 Amp RV plug, 50 Amp RV connector, 6/3 + 8/1 gauge wire, and electrical tape.
How Long Does It Take To Make The Extension Cord?
It typically takes around 1-2 hours to assemble a 50 Amp RV extension cord.
Can I Use Any Wire For A 50 Amp Rv Cord?
No, you must use 6/3 + 8/1 gauge wire for safety and efficiency.
Is It Safe To Make My Own Rv Extension Cord?
Yes, it is safe if you use the correct materials and follow proper instructions.
Conclusion
Creating a 50 Amp RV extension cord is simpler than it seems. Follow the steps carefully. Gather the right materials. Use safety precautions while working. This ensures a reliable connection for your RV. Save money by making it yourself. Enjoy more flexibility with a custom length.
Feel confident on your next RV adventure. Ready to power up? Start building your own extension cord today. Happy camping!


