
Choosing the right caulk for your RV exterior is crucial. It ensures protection against leaks and extends the life of your vehicle.
When you’re on the road, your RV faces all kinds of weather. Rain, sun, and wind can wear down the seals on your vehicle. The right caulk keeps moisture out, prevents damage, and maintains your RV’s value. But with so many options available, picking the best one can be confusing.
Different types of caulk are designed for various needs and materials. In this blog, we’ll explore the best options for your RV exterior. We’ll help you understand what to look for, so you can make the best choice for your vehicle.

Credit: www.reddit.com
Importance Of Rv Caulking
The exterior of an RV faces various weather elements. Over time, this exposure can lead to damage if the RV is not properly sealed. RV caulking plays a crucial role in maintaining your vehicle’s longevity. Let’s delve into why caulking is essential for your RV.
Preventing Water Damage
Water damage is a common issue for RV owners. Water can seep through small cracks and seams in your RV’s exterior. This can cause significant damage over time. Proper caulking helps seal these potential entry points. It keeps water from infiltrating and causing rot or mold.
Regularly checking and maintaining your RV’s caulking can save you from costly repairs. Fresh caulk forms a strong barrier against water. It ensures your RV stays dry and protected.
Maintaining Structural Integrity
Caulking also helps maintain the structural integrity of your RV. Seams and joints in the RV’s exterior can weaken over time. Proper caulking reinforces these areas, keeping them strong and secure.
Without adequate caulking, the exterior panels may start to separate. This can lead to more serious structural issues. Regular caulking prevents this by keeping all parts tightly sealed and in place.
Keeping your RV’s structure intact ensures a longer lifespan for your vehicle. It helps maintain the overall value and safety of your RV.
Types Of Caulk For Rvs
Choosing the right caulk for your RV exterior is important. Different types of caulk serve different purposes. Each type offers unique benefits and drawbacks. Knowing these differences helps you make an informed decision.
Silicone Caulk
Silicone caulk is a popular choice for RVs. It is waterproof and flexible. It resists UV rays, making it ideal for exterior use. Silicone caulk is durable and long-lasting. It adheres well to many surfaces, including metal and glass.
One drawback is that it can be difficult to remove. Once applied, it forms a strong bond. This makes repairs challenging if you need to reapply it. Silicone caulk also does not accept paint. So, if you want to paint over it, this might not be the best choice.
Polyurethane Caulk
Polyurethane caulk is another great option for RVs. It is flexible and strong. It bonds well to many surfaces, including wood and metal. This caulk is resistant to weather and UV rays. It also performs well in various temperatures.
Unlike silicone, polyurethane caulk can be painted. This makes it a versatile choice for many RV owners. It is also easier to remove if needed. On the downside, it has a shorter lifespan compared to silicone caulk. Regular maintenance may be required.
Choosing The Right Caulk
Choosing the right caulk for your RV exterior is crucial. It ensures a proper seal and protects against leaks and damage. Different factors like climate and surface type can affect your choice. This guide will help you pick the best caulk for your RV exterior.
Climate Considerations
Climate plays a big role in choosing caulk. In cold climates, you need a caulk that remains flexible. Cold weather can cause some caulks to crack. Look for caulks labeled for cold weather use.
In hot climates, choose a caulk that can withstand high temperatures. Heat can cause caulk to soften and fail. UV resistance is also important in sunny areas. UV rays can break down caulk over time.
Surface Compatibility
Different surfaces require different types of caulk. Check the surface material before buying caulk. For example, silicone caulk works well on glass and metal. But it might not adhere well to wood.
Acrylic latex caulk is versatile. It can be used on many surfaces like wood, metal, and plastic. It’s also paintable, making it a good choice for visible areas.
Here’s a quick guide to help:
| Surface Material | Recommended Caulk |
|---|---|
| Glass | Silicone Caulk |
| Metal | Silicone or Butyl Rubber Caulk |
| Wood | Acrylic Latex Caulk |
| Plastic | Acrylic Latex or Polyurethane Caulk |
Ensure you read the product label before purchase. Some caulks are specifically designed for RV use. These often offer better flexibility and durability.

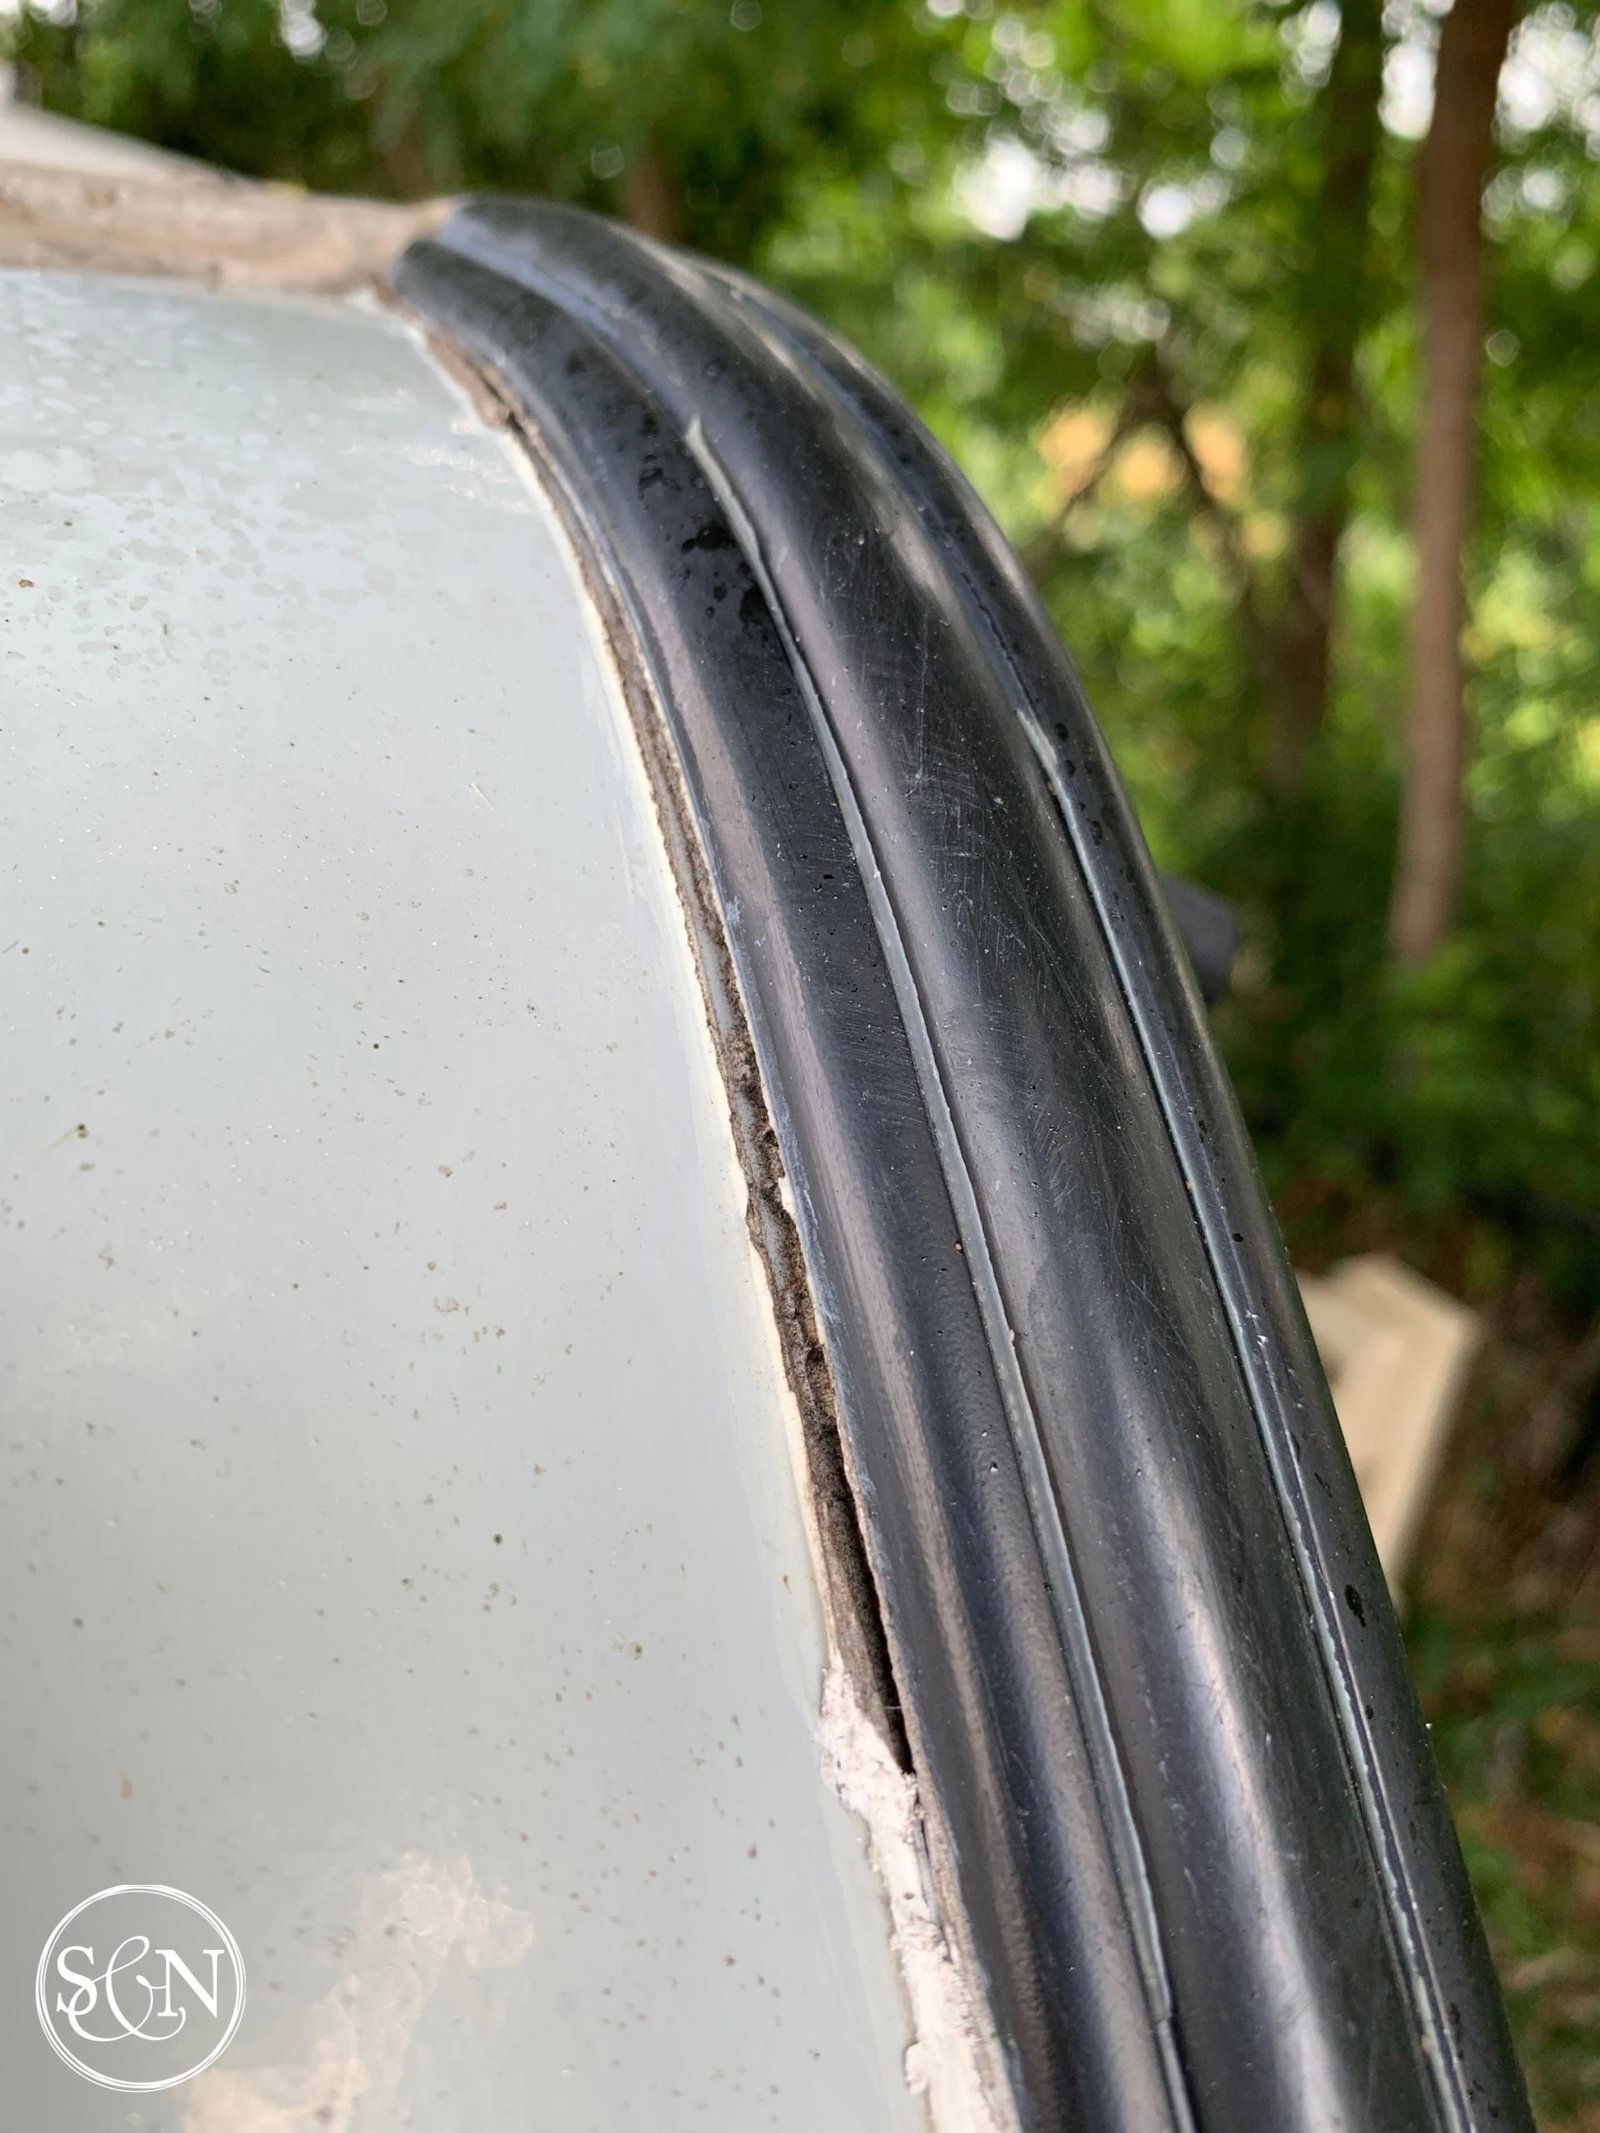
Credit: steveandnoelle.com
Application Tools And Materials
When sealing your RV exterior, using the right tools and materials ensures a professional finish. Proper application tools make the job easier and more efficient. This section covers essential tools like caulking guns and smoothing tools.
Caulking Guns
A good caulking gun is vital for applying caulk neatly. Manual caulking guns are affordable and easy to use. They work well for small jobs and occasional use. For larger areas, consider a powered caulking gun. These guns reduce hand strain and offer more control. Choose a gun with a smooth trigger action for better results.
Smoothing Tools
Smoothing tools help achieve a clean, professional finish. A caulk finishing tool or a simple plastic spoon can work. Wet your finger for a quick and easy method. Run it along the caulk line to smooth it out. The goal is to press the caulk into the joint and remove excess.
Preparing The Rv Surface
Before applying new caulk to your RV exterior, you need to prepare the surface. Proper preparation ensures that the new caulk adheres well and lasts longer. The following steps will guide you through the process.
Cleaning Techniques
First, clean the RV surface thoroughly. Dirt, grime, and old residue can prevent the new caulk from sticking properly. Use a mild soap mixed with water. A sponge or soft cloth works well to scrub the area. Rinse with clean water and allow the surface to dry completely.
For stubborn stains, mix a solution of water and white vinegar. Spray it on the stains and let it sit for a few minutes. Then, scrub gently with a brush. Rinse and dry the area. This ensures all residues are removed.
Removing Old Caulk
Old caulk can interfere with the new application. Remove it completely. Use a utility knife or a specialized caulk removal tool. Carefully cut along the edges of the old caulk. Pull it out slowly to avoid damaging the RV surface.
After removing most of the old caulk, there may be small bits left behind. Use a putty knife to scrape off any remaining pieces. For any stubborn spots, apply a caulk remover solution. Let it sit for the time recommended on the label. Scrape off the softened caulk.
Once all old caulk is removed, clean the area again. This removes any remaining debris or residue. Ensure the surface is completely dry before applying new caulk. This step is crucial for the new caulk to adhere properly.
Step-by-step Caulking Process
Proper caulking ensures your RV remains waterproof and well-sealed. Knowing the step-by-step caulking process helps you achieve a professional finish. Follow these simple steps for a lasting seal on your RV exterior.
Applying The Caulk
First, clean the surface where you will apply the caulk. Remove old caulk, dirt, and debris. Use a caulk remover tool and a cleaning solution.
Next, cut the tip of the caulk tube at a 45-degree angle. Load the caulk tube into a caulking gun. Hold the gun at a 45-degree angle to the surface.
Apply steady pressure on the trigger. Move the gun smoothly along the seam. Ensure an even, continuous bead of caulk.
Smoothing And Finishing
After applying the caulk, smooth it with a caulk smoothing tool. You can also use your finger dipped in soapy water. This helps to create a neat, professional finish.
Remove excess caulk immediately. Wipe it away with a damp cloth. Check for any gaps or missed spots and apply more caulk if necessary.
Allow the caulk to dry completely. Follow the manufacturer’s instructions for drying time. This ensures the caulk cures properly and provides a strong seal.
Common Caulking Mistakes
Choosing the right caulk for RV exteriors is crucial. Silicone caulk works well for flexibility and weather resistance. Avoid acrylic caulk as it may crack over time.
Caulking your RV exterior is essential for preventing water damage. But even simple tasks can go wrong. Let’s discuss common caulking mistakes.Over-application
Applying too much caulk is a common error. More caulk doesn’t mean better protection. Excess caulk can look messy. It can also fail to dry properly. Instead, apply a small, even bead. Smooth it out with your finger or tool. This ensures a clean seal.Ignoring Drying Times
Ignoring drying times is another mistake. Each caulk has its own drying time. Not waiting can ruin your hard work. Water exposure or movement can cause the caulk to fail. Always read the instructions. Allow the full drying time before using your RV. “`
Credit: www.reddit.com
Maintenance Tips
Proper maintenance of your RV exterior is crucial. It ensures longevity and prevents leaks. Regular inspections and reapplying caulk are key steps.
Regular Inspections
Inspect the caulk on your RV exterior every few months. Look for cracks, gaps, or peeling. These signs indicate that the caulk is failing.
Check areas around windows, doors, and seams. Water can easily seep through these spots. Regular inspections help catch problems early. This prevents costly damage.
Reapplying Caulk
Reapply caulk when you notice any damage. Remove the old caulk first. Use a caulk remover tool for this task. Clean the area thoroughly before applying new caulk.
Choose the right caulk for your RV exterior. Silicone and polyurethane caulks are popular choices. They offer strong adhesion and flexibility. Apply the new caulk in a steady, even bead. Smooth it out with a caulk smoothing tool.
Allow the caulk to cure fully. This usually takes 24-48 hours. Following these steps ensures a watertight seal. Your RV remains protected from leaks and damage.
Frequently Asked Questions
What Is The Best Caulk For Rv Exterior?
The best caulk for RV exterior is a high-quality, UV-resistant, and flexible sealant. Silicone or polyurethane-based caulks are recommended for their durability and weather resistance.
How Often Should I Caulk My Rv Exterior?
You should inspect and re-caulk your RV exterior at least once a year. Regular maintenance helps prevent leaks and damage from weather exposure.
Can I Use Silicone Caulk On My Rv Exterior?
Yes, silicone caulk is suitable for RV exteriors. It provides excellent flexibility and weather resistance. Ensure it is UV-resistant for better durability.
How Do I Remove Old Caulk From My Rv?
To remove old caulk, use a caulk remover tool or a plastic scraper. Apply a commercial caulk remover solution to soften the residue.
Conclusion
Choosing the right caulk for your RV exterior is crucial. It ensures protection from water damage and leaks. Silicone and polyurethane are top choices. They offer durability and flexibility. Always check for compatibility with your RV material. Regular maintenance extends your RV’s lifespan.
Proper caulking gives peace of mind. Protect your investment. Enjoy worry-free travels.


