
Charging your RV battery while driving is essential. It ensures your battery stays powered on the road.
This guide will show you how to do it. Owning an RV offers the freedom to travel. But, maintaining your RV’s battery can be a challenge. Charging the battery while driving is a practical solution. This method keeps your battery ready for use when you stop.
In this blog, we will explain various ways to charge your RV battery while on the move. You will learn about different techniques and tools that can make this task easy and efficient. By the end, you will feel confident in keeping your RV battery charged during your travels.
Introduction To Charging Rv Batteries
Charging RV batteries while driving is essential for a seamless road trip. It ensures that your appliances and devices stay powered throughout the journey. Properly maintaining and charging your RV batteries can save you from unexpected power shortages. Understanding the basics of RV battery charging is crucial for every RV owner.
Importance Of Battery Maintenance
Proper battery maintenance extends the life of your RV battery. Regular checks prevent sudden failures and ensure consistent performance. Clean battery terminals to avoid corrosion. Monitor the water levels in your batteries if they are lead-acid types. Keeping your battery in good condition ensures efficient charging while driving.
Challenges Of Charging On The Go
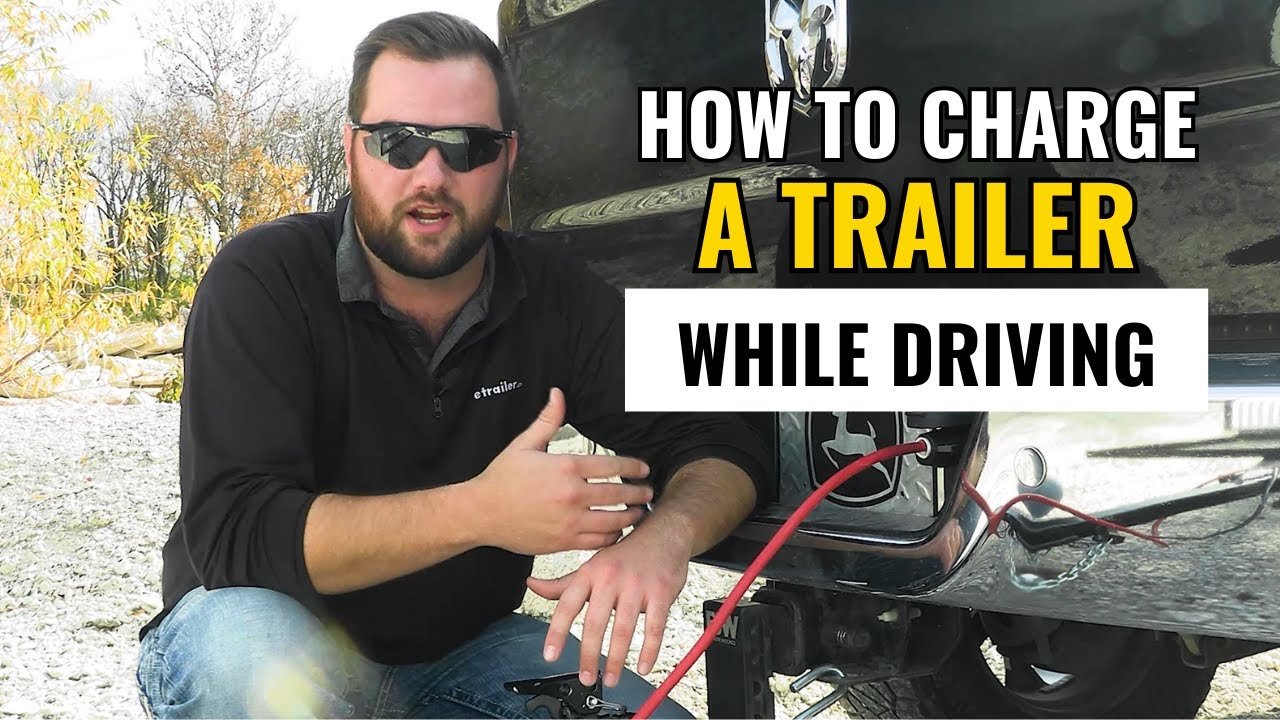
Charging RV batteries while driving can be challenging. The alternator in your vehicle is designed to charge the main vehicle battery, not the RV battery. You may need additional equipment like a battery isolator or DC to DC charger. These devices help direct power from the alternator to the RV battery. Another challenge is ensuring a consistent charge. Driving conditions and engine speed can affect the charging rate.
Credit: www.etrailer.com
Using The Alternator
Charging your RV battery while driving can be simple with an alternator. The alternator uses the engine’s power to generate electricity. This electricity can then charge your RV battery. Let’s dive into how alternators work and how to connect your RV battery to the alternator.
How Alternators Work
An alternator is a key part of your vehicle’s engine. It converts mechanical energy into electrical energy. This electrical energy powers the vehicle’s electrical systems. It also charges the vehicle’s battery. When your engine runs, the alternator spins. This spinning generates electricity. This electricity keeps your vehicle’s battery charged. It also powers lights, radio, and other electrical devices.
Connecting The Rv Battery To The Alternator
To charge your RV battery with an alternator, you’ll need a few tools. You will need cables, connectors, and a battery isolator. The battery isolator ensures only the RV battery gets charged. First, locate your vehicle’s alternator and battery. Connect one end of a cable to the positive terminal of the alternator. Connect the other end to the positive terminal of the RV battery.
Next, connect the negative terminal of the RV battery to the vehicle’s chassis. This completes the circuit. Use a battery isolator to prevent draining the vehicle’s battery. The isolator directs the flow of electricity. It ensures the RV battery gets charged first. Double-check all connections for safety. Ensure everything is secure before starting your engine.
Charging your RV battery while driving saves time and effort. Use the alternator and drive with confidence, knowing your RV battery stays charged.
Solar Panels On The Move
Driving your RV while charging the battery can be a challenge. But, solar panels offer a fantastic solution. With solar panels installed on your RV, you can keep your battery charged as you drive. This method is eco-friendly and efficient.
Benefits Of Solar Charging
Solar charging is environmentally friendly. It reduces your carbon footprint. You harness the power of the sun, a renewable resource. This method is also cost-effective. Once installed, solar panels require little maintenance. You save money on fuel and generator costs.
Another benefit is the convenience. Solar panels work silently. They do not disturb your peace. You can charge your battery on the go. No need to stop at crowded charging stations. This means more time enjoying your travels.
Installing Solar Panels On An Rv
Start with choosing the right solar panel. Panels come in various sizes and power outputs. Consider your energy needs. A professional installer can help you select the best option.
Next, mount the panels on the roof of your RV. Ensure they are secure and positioned correctly. They should face the sun for maximum exposure. Use brackets and screws to hold them in place.
Connect the panels to a charge controller. This device regulates the power flow. It protects your battery from overcharging. From the controller, connect to your RV battery. Ensure all connections are tight and secure.
Finally, test the system. Make sure the panels are generating power. Check that your battery is charging. With everything in place, you are ready to hit the road.
Generator Usage
Charging your RV battery while driving can be challenging. Generators offer a reliable solution. They provide consistent power, ensuring your battery remains charged during your journey.
Portable Generators
Portable generators are a great choice for RV owners. They are compact and easy to store. They can be used whenever needed. Simply place the generator outside your RV. Connect it to your RV’s battery system. Start the generator and let it run. Your battery will charge as you drive. Ensure proper ventilation to avoid exhaust issues.
Built-in Generators
Many modern RVs come with built-in generators. These generators are integrated into the RV’s electrical system. They are more convenient than portable generators. Start the built-in generator using the control panel inside your RV. The generator will begin to charge the battery. Built-in generators often run more quietly. They also require less manual setup.
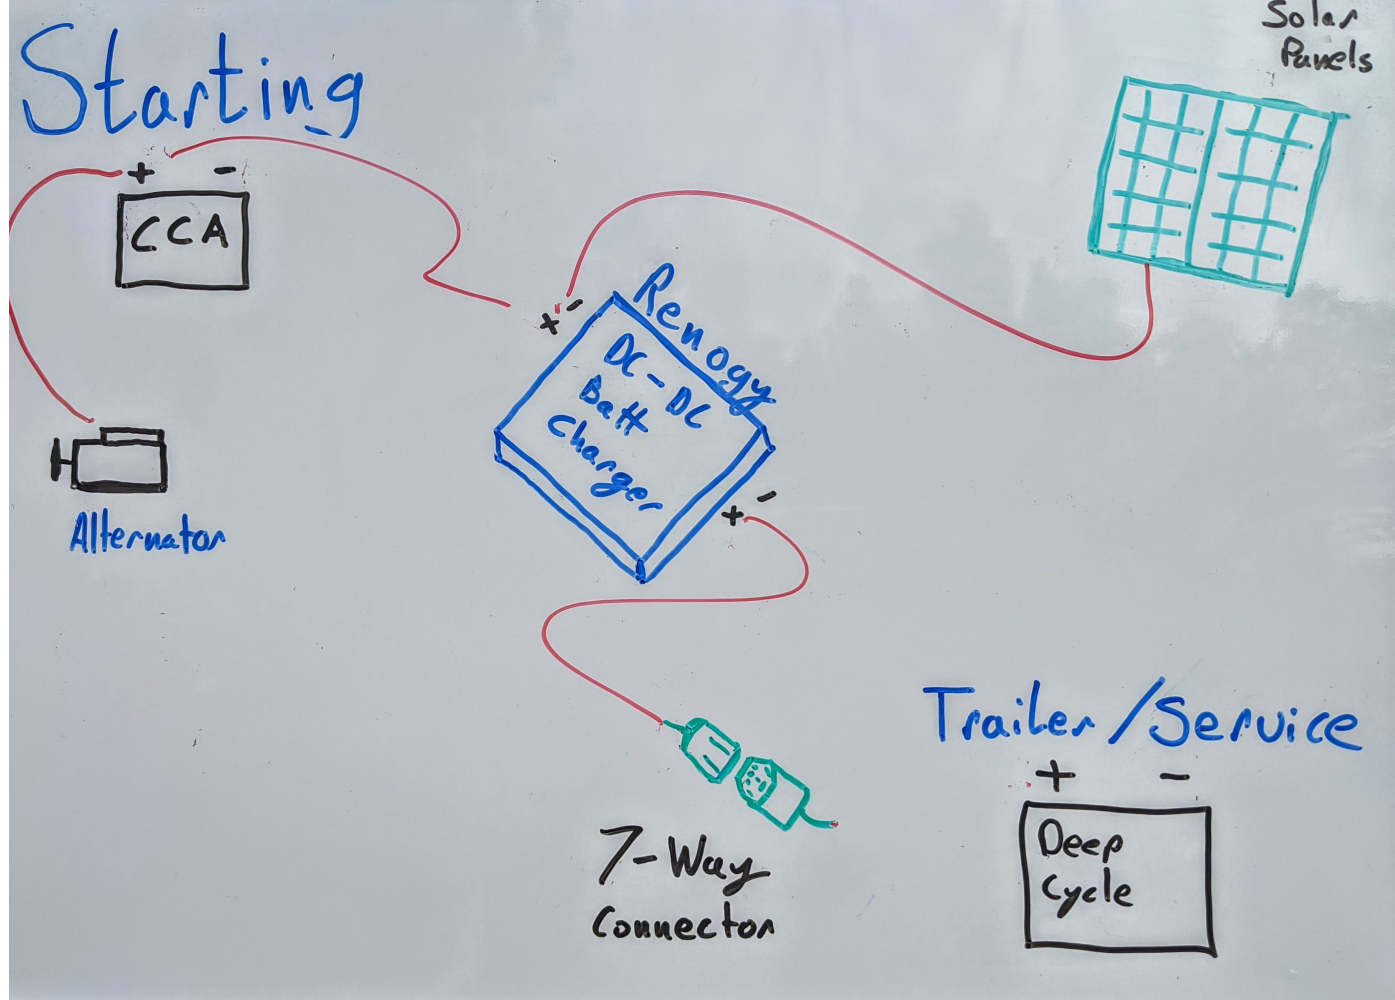
Dc To Dc Chargers
When you need to charge your RV battery while driving, a DC to DC charger can be very useful. These devices are specially designed to ensure your RV battery gets charged efficiently. They draw power from your vehicle’s alternator and provide a stable current to your RV battery.
Advantages Of Dc To Dc Chargers
DC to DC chargers offer several benefits. Firstly, they provide a steady and efficient charge. This ensures your RV battery receives the optimal amount of power. Secondly, these chargers help protect your battery from overcharging. They automatically adjust the charging rate to match the battery’s needs. This prolongs the battery’s lifespan.
Additionally, DC to DC chargers are compatible with different types of batteries. Whether you have a lead-acid, AGM, or lithium battery, these chargers can handle them. Lastly, they are easy to use. Once installed, they require minimal maintenance and monitoring.
Installation Process
Installing a DC to DC charger is straightforward. Begin by selecting a suitable location in your RV. The charger should be close to the battery but in a well-ventilated area. Mount the charger securely using screws or brackets.
Next, connect the charger to your vehicle’s alternator. Use the appropriate gauge wires to ensure a safe connection. Make sure all connections are tight and secure. Then, connect the charger to your RV battery. Again, use the correct gauge wires and double-check all connections.
Once everything is connected, test the system. Start your vehicle and check if the charger is working correctly. The indicator lights on the charger will show if it’s charging properly. If everything looks good, your installation is complete.
Credit: www.renogy.com
Inverter Chargers
Inverter chargers are essential for charging your RV battery while driving. They convert DC power from your vehicle’s alternator to AC power. This AC power then charges your RV battery efficiently. Understanding how inverter chargers work can help you choose the right one for your needs.
How Inverter Chargers Work
Inverter chargers take DC power from your vehicle’s alternator. They convert this DC power to AC power. The AC power then charges your RV battery. This process helps keep your battery full while driving. It also ensures your appliances have power.
Most inverter chargers have built-in features. These features protect your battery from overcharging. They also help in maintaining the battery’s health. Some even come with smart charging options. These options adjust the charging rate based on the battery’s condition.
Choosing The Right Inverter
Choosing the right inverter charger is crucial. First, consider the power needs of your RV. Calculate the total wattage of all devices you use. Then, choose an inverter charger that meets or exceeds this wattage.
Look for inverter chargers with safety features. Overload protection, short circuit protection, and temperature control are important. These features ensure the longevity of your RV battery.
Check the size and weight of the inverter charger. It should fit comfortably in your RV. Also, consider the ease of installation. Some models come with plug-and-play options. These are simple to install and use.
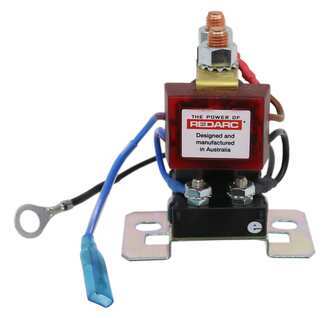
Battery Isolators
Battery isolators play a crucial role in charging an RV battery while driving. They help separate the vehicle’s starting battery from the RV’s house battery. This prevents draining the vehicle battery when the engine is off.
Purpose Of Battery Isolators
The main purpose of battery isolators is to manage the power distribution between two batteries. They allow the vehicle’s alternator to charge both the starting and house batteries. They also prevent the house battery from discharging the starting battery.
Battery isolators act as a one-way valve. They ensure power flows from the alternator to both batteries. But they stop power from flowing back from the house battery to the starting battery.
Installing A Battery Isolator
Installing a battery isolator requires some basic tools and skills. First, locate the vehicle’s alternator and battery. Then, disconnect the vehicle’s battery to ensure safety.
Next, mount the isolator in a secure location. Make sure it is near the vehicle battery. Connect the alternator wire to the isolator input. Then, connect one output to the starting battery and the other to the house battery.
Finally, check all connections and ensure they are tight. Reconnect the vehicle battery and start the engine. Verify that both batteries charge properly. If done right, the battery isolator will efficiently manage power distribution.
Safety Tips And Precautions
Charging your RV battery while driving is convenient. But, it’s essential to follow safety tips. This ensures your battery and RV remain in good condition.
Neglecting safety can lead to battery damage. Or worse, it could cause accidents. So, understanding these precautions is crucial. Let’s dive into some key safety tips.
Avoiding Overcharging
Overcharging a battery can damage it. To avoid this, use a smart charger. Smart chargers stop charging when the battery is full. They prevent overcharging automatically.
Check the charger settings. Ensure they match your battery’s requirements. This helps maintain battery health. Always monitor the charging process.
Regular Maintenance Checks
Regular checks keep your battery in top shape. Inspect battery terminals for corrosion. Clean them with a mixture of baking soda and water.
Check the water levels in lead-acid batteries. Top up with distilled water if needed. Ensure the battery is securely mounted. Loose batteries can cause damage.
Look out for any cracks or leaks. Replace the battery if you notice these signs. Regular checks prolong battery life and ensure safety.

Credit: m.youtube.com
Frequently Asked Questions
How Can I Charge My Rv Battery While Driving?
You can charge your RV battery while driving by using a DC-DC charger or an alternator. These methods ensure your battery is charged efficiently.
Is It Safe To Charge Rv Battery While Driving?
Yes, it’s safe if you use proper equipment like a DC-DC charger. Ensure the connections are secure to avoid issues.
Do I Need A Special Charger For Rv Battery?
A DC-DC charger is recommended for charging while driving. It ensures efficient and safe charging of your RV battery.
How Long Does It Take To Charge Rv Battery While Driving?
Charging time varies based on battery size and charger type. Typically, it takes several hours to fully charge.
Conclusion
Charging your RV battery while driving is simple and practical. It helps keep your adventures stress-free. Use the right tools and follow safety measures. Regular maintenance ensures a long battery life. This process saves you time and hassle. Now, you can focus on enjoying your trip.
Happy travels!


