
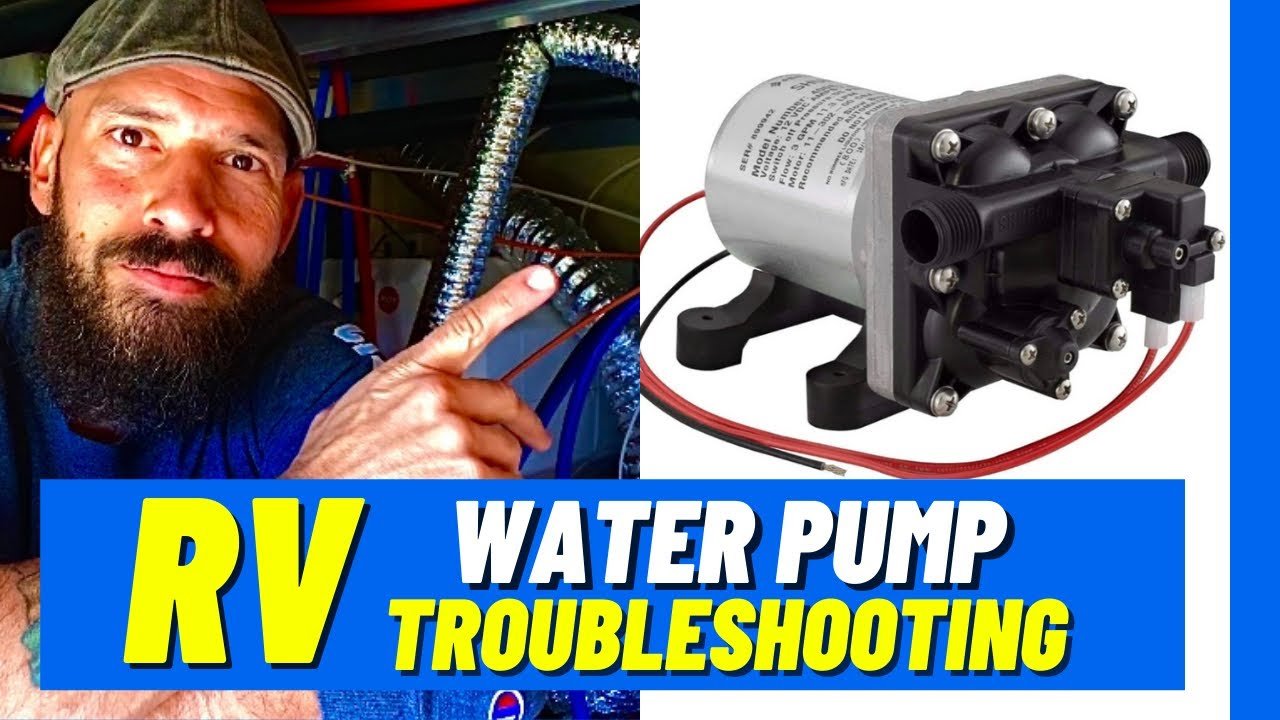
RV water pumps are essential for a comfortable trip. They provide water for drinking, cooking, and cleaning.
But what happens when your RV water pump is not building pressure? This can be a frustrating issue, especially when you are on the road. A water pump that isn’t building pressure can disrupt your travel plans. Understanding why this happens is crucial.
This blog will help you identify common causes and solutions. We will explore easy fixes and maintenance tips. By the end, you’ll be ready to handle this problem like a pro. No more worrying about water pressure issues on your adventures. Let’s dive into the details and get your RV water pump working smoothly again.
Common Causes
Is your RV water pump not building pressure? Understanding the common causes can help diagnose the issue and get your water system back in working order. In this section, we will explore some of the most frequent reasons behind this problem.
Air Lock
An air lock in the system can prevent the water pump from building pressure. This occurs when air gets trapped in the pump or the water lines. To resolve this, you can try the following steps:
- Turn off the water pump.
- Open all faucets to allow trapped air to escape.
- Close the faucets and turn the pump back on.
These steps should help clear the air lock and restore pressure.
Leaks In The System
Leaks in the water system can also cause pressure issues. Even small leaks can lead to significant problems. Check the following areas for potential leaks:
| Component | Inspection Tips |
|---|---|
| Hoses | Look for wet spots or drips. |
| Connections | Ensure all fittings are tight. |
| Tank | Inspect for cracks or holes. |
Fixing any identified leaks can help restore proper pressure.
Faulty Pump
A faulty pump could be the culprit if the water pump is not building pressure. Here are some signs your pump might be failing:
- Unusual noises coming from the pump.
- Pump runs but does not deliver water.
- Intermittent water flow.
If you notice any of these signs, the pump might need repair or replacement.
Initial Checks
Experiencing issues with your RV water pump not building pressure can be frustrating. Before jumping to conclusions or considering a replacement, there are some initial checks you should perform. These simple checks can save you time and possibly money. Let’s dive into the critical steps you need to take.
Inspect Water Levels
First, ensure your RV’s water tank has enough water. Low water levels can prevent the pump from building pressure. Check the tank’s gauge to confirm it is adequately filled. If the tank is empty or low, fill it up and see if the pump starts working correctly.
Check Power Supply
Next, verify that the pump is receiving power. A faulty power connection can cause the pump to malfunction. Inspect the wiring and connectors for any visible damage. Ensure all connections are secure and the pump’s switch is turned on. If you have a multimeter, use it to check the voltage at the pump.
Examine Pump Settings
Lastly, look at the pump settings. Some RV water pumps have adjustable pressure settings. Ensure the settings are correct for your system. Consult your pump’s manual for the recommended settings. Adjust them if necessary and see if this resolves the issue.
Fixing Air Locks
Air locks in your RV water pump can be a common issue. They can prevent the pump from building pressure. Fixing air locks requires a few simple steps. Here, we discuss two effective methods.
Bleeding The System
Start by turning off the water pump. Open all faucets in your RV. This helps release trapped air. Wait until water flows smoothly. Close the faucets one by one. Turn the water pump back on. Check if the pressure is restored. If not, repeat the process.
Using A Manual Pump
A manual pump can help remove air locks. Connect the manual pump to the water system. Pump water through the system manually. This forces out trapped air. Keep pumping until you see a steady water flow. Disconnect the manual pump. Turn on the water pump and check the pressure. If needed, repeat the steps.
Addressing Leaks
An RV water pump not building pressure can be frustrating. One common cause is leaks in the system. Addressing leaks can often solve the problem quickly. Checking for leaks in hoses and connections is essential. Using sealants can also help fix any detected leaks.
Inspecting Hoses And Connections
Begin by inspecting all the hoses and connections. Look for any visible signs of wear or damage. A small crack or hole can cause a significant drop in pressure.
Here are steps to inspect hoses and connections:
- Turn off the water pump and disconnect the power.
- Check each hose for cracks, holes, or kinks.
- Inspect the connections where hoses meet other components.
- Tighten any loose connections with a wrench.
- Replace damaged hoses or fittings.
A thorough inspection can help identify the source of the leak. Ensure all connections are secure to prevent future issues.
Using Sealants
Using sealants can be an effective way to fix leaks. Sealants can fill in small cracks or gaps in hoses and connections.
Consider these types of sealants for your RV water pump system:
| Type | Usage |
|---|---|
| Plumber’s Tape | Wrap around threaded connections to prevent leaks. |
| Silicone Sealant | Apply to joints and fittings for a waterproof seal. |
| Rubber Repair Tape | Wrap around hoses to cover cracks or holes. |
Ensure you apply the sealant correctly. Follow the manufacturer’s instructions for the best results. Sealants can provide a quick fix and restore pressure in your RV water pump system.
Pump Maintenance
Maintaining your RV water pump is crucial for ensuring it builds pressure effectively. Regular pump maintenance not only extends the life of your pump but also ensures a steady water supply during your travels. Below are some key maintenance tasks that can help keep your RV water pump in top condition.
Cleaning Filters
The filters in your RV water pump can get clogged with debris and dirt. This can impact the pump’s ability to build pressure. Cleaning the filters regularly is vital.
- Turn off the water supply.
- Locate the filter housing.
- Remove the filter and rinse it under clean water.
- Inspect the filter for damage. Replace if necessary.
- Reinstall the filter and secure the housing.
Perform this task every few months to keep your pump working efficiently.
Lubricating Moving Parts
Lubrication is crucial for the smooth operation of your RV water pump. Moving parts can wear out quickly without proper lubrication. Use the following steps:
- Turn off the power to the pump.
- Access the moving parts of the pump.
- Apply a suitable lubricant to the moving parts.
- Move the parts manually to spread the lubricant.
- Turn the pump back on and check for smooth operation.
Regular lubrication ensures the pump runs quietly and efficiently.
| Maintenance Task | Frequency |
|---|---|
| Cleaning Filters | Every few months |
| Lubricating Moving Parts | Every 6 months |
By following these simple maintenance tasks, you can ensure your RV water pump remains in excellent condition. This will help you enjoy a reliable water supply on your journeys.
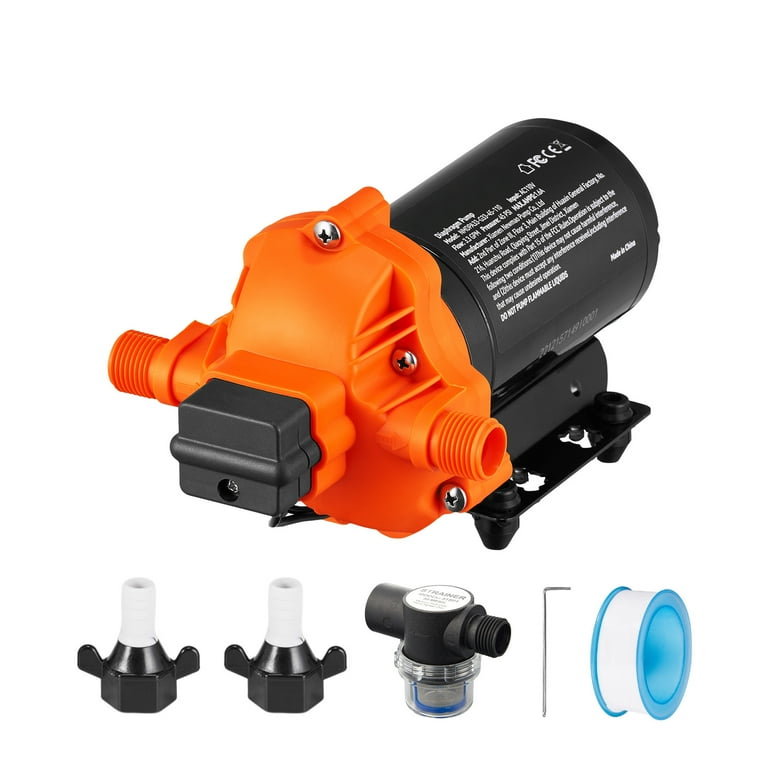
Credit: www.walmart.com
Replacing Faulty Parts
When your RV water pump is not building pressure, it often means there are faulty parts. Replacing these parts can restore proper function. This guide helps you identify and replace the faulty components, ensuring your water pump performs optimally.
Identifying Faulty Components
Before replacing parts, you need to identify which ones are faulty. Start by checking the following:
- Pump Diaphragm: Look for cracks or wear.
- Pressure Switch: Test if it activates at the correct pressure.
- Valves: Ensure they open and close properly.
If any component shows signs of damage, it likely needs replacement.
Installing New Parts
Once faulty components are identified, proceed with installing new parts:
- Turn off the water supply: Prevent water from flooding the area.
- Remove the faulty part: Use a screwdriver or wrench if needed.
- Install the new part: Ensure a proper fit and tighten all connections.
- Turn on the water supply: Test the pump for proper pressure build-up.
Following these steps helps ensure your RV water pump is functioning efficiently.
Preventive Measures
Maintaining your RV water pump is essential to avoid pressure issues. Taking preventive measures can save you from future headaches. Regular inspections and proper storage can extend the life of your pump.
Regular Inspections
Inspecting your RV water pump regularly is crucial. Check for any leaks, cracks, or wear and tear. Ensure all connections are tight and secure. A small leak can lead to bigger problems.
Listen for unusual noises. A noisy pump may indicate a problem. Test the pressure to make sure it is consistent. Keep an eye on the pump’s performance. Regular checks can help you identify issues early.
Proper Storage Techniques
Storing your RV properly when not in use is vital. Drain the water pump completely before storing. Any remaining water can freeze and damage the pump. Use RV antifreeze if storing in cold climates.
Store your RV in a dry place. Moisture can cause rust and corrosion. Cover the pump to protect it from dust and debris. Proper storage techniques can prolong the life of your pump.
| Task | Frequency |
|---|---|
| Inspect for leaks | Monthly |
| Check connections | Monthly |
| Drain water before storage | Before storage |
| Use RV antifreeze | Before winter storage |
When To Seek Professional Help
Maintaining your RV water pump is essential for a smooth trip. Sometimes, the pump may fail to build pressure. This can be a sign of a more serious issue. Understanding when to seek professional help can save you time and frustration.
Recognizing Complex Issues
Some problems are simple and easy to fix. But, if the pump still does not work after basic troubleshooting, it might be a complex issue. Here are some signs:
- The pump runs continuously but does not build pressure.
- There are leaks in the plumbing system.
- The pump makes strange noises or vibrates excessively.
- Water flow is irregular or weak.
If you notice these issues, it is time to consider professional help. A qualified technician can diagnose and fix the problem effectively.
Finding A Qualified Technician
Finding the right technician is crucial. Here are some tips:
| Tip | Description |
|---|---|
| Check Reviews | Read reviews from other RV owners to find trusted technicians. |
| Verify Certification | Ensure the technician is certified and has experience with RV water pumps. |
| Ask for References | Request references from previous clients to gauge their satisfaction. |
These steps will help you find a reliable technician. This can save you time and ensure your RV water pump works efficiently. Remember, professional help is sometimes necessary to maintain your RV’s health. Do not hesitate to seek it.
Frequently Asked Questions
Why Is My Rv Water Pump Not Building Pressure?
The RV water pump may not be building pressure due to a clogged filter, air in the system, or a faulty pump. Check for these issues.
How Do I Fix My Rv Water Pump Pressure?
To fix the pressure, inspect and clean the pump’s filter, remove any air from the system, and test the pump for defects.
What Are Common Rv Water Pump Problems?
Common problems include clogged filters, air in the system, faulty pump components, and electrical issues. Regular maintenance can prevent these issues.
How Can I Prevent Rv Water Pump Issues?
Prevent issues by regularly cleaning the filter, checking for air in the system, and performing routine maintenance on the pump components.
Conclusion
Fixing an RV water pump not building pressure can be simple. Check connections, clean filters, and inspect parts regularly. Small maintenance steps prevent bigger issues. Always ensure the water tank is full. Quality care keeps your pump running smoothly. Regular check-ups save time and money.
Enjoy your travels with a reliable water system. Safe journeys!


