
Dealing with a leaking city water connection in your RV can be frustrating. Water leaks can cause damage and spoil your travel plans.
Understanding the causes and solutions for a leaking city water connection is essential. This guide will help you identify common issues and provide tips to fix them. Whether it’s a loose fitting, a worn-out gasket, or a cracked hose, knowing how to address these problems will save time and money.
Keep reading to learn how to maintain your RV’s water system and ensure a smooth, leak-free adventure.
Common Causes Of Rv Water Leaks
Experiencing a water leak in your RV can be frustrating. Leaks can cause damage and lead to costly repairs. Identifying the common causes can help you prevent them. This section will explore some of the most common causes of RV water leaks.
Worn Out Seals
Over time, seals on your RV can wear out. These seals are found around windows, doors, and vents. When they degrade, water can seep into your RV. Regularly check your seals for cracks or damage. Replacing worn seals can prevent leaks.
Loose Connections
Loose connections are another common cause of water leaks. Check all your plumbing connections. Ensure they are tight and secure. Even a small loose connection can lead to significant water leakage. Use a wrench to tighten any loose fittings. This simple check can save you from major water damage.

Credit: www.reddit.com
Identifying The Leak Source
Identifying the source of a city water connection RV leak is crucial. This helps prevent water waste and damage. It also ensures your RV remains in top condition. Let’s dive into the steps to pinpoint the leak.
Visual Inspection
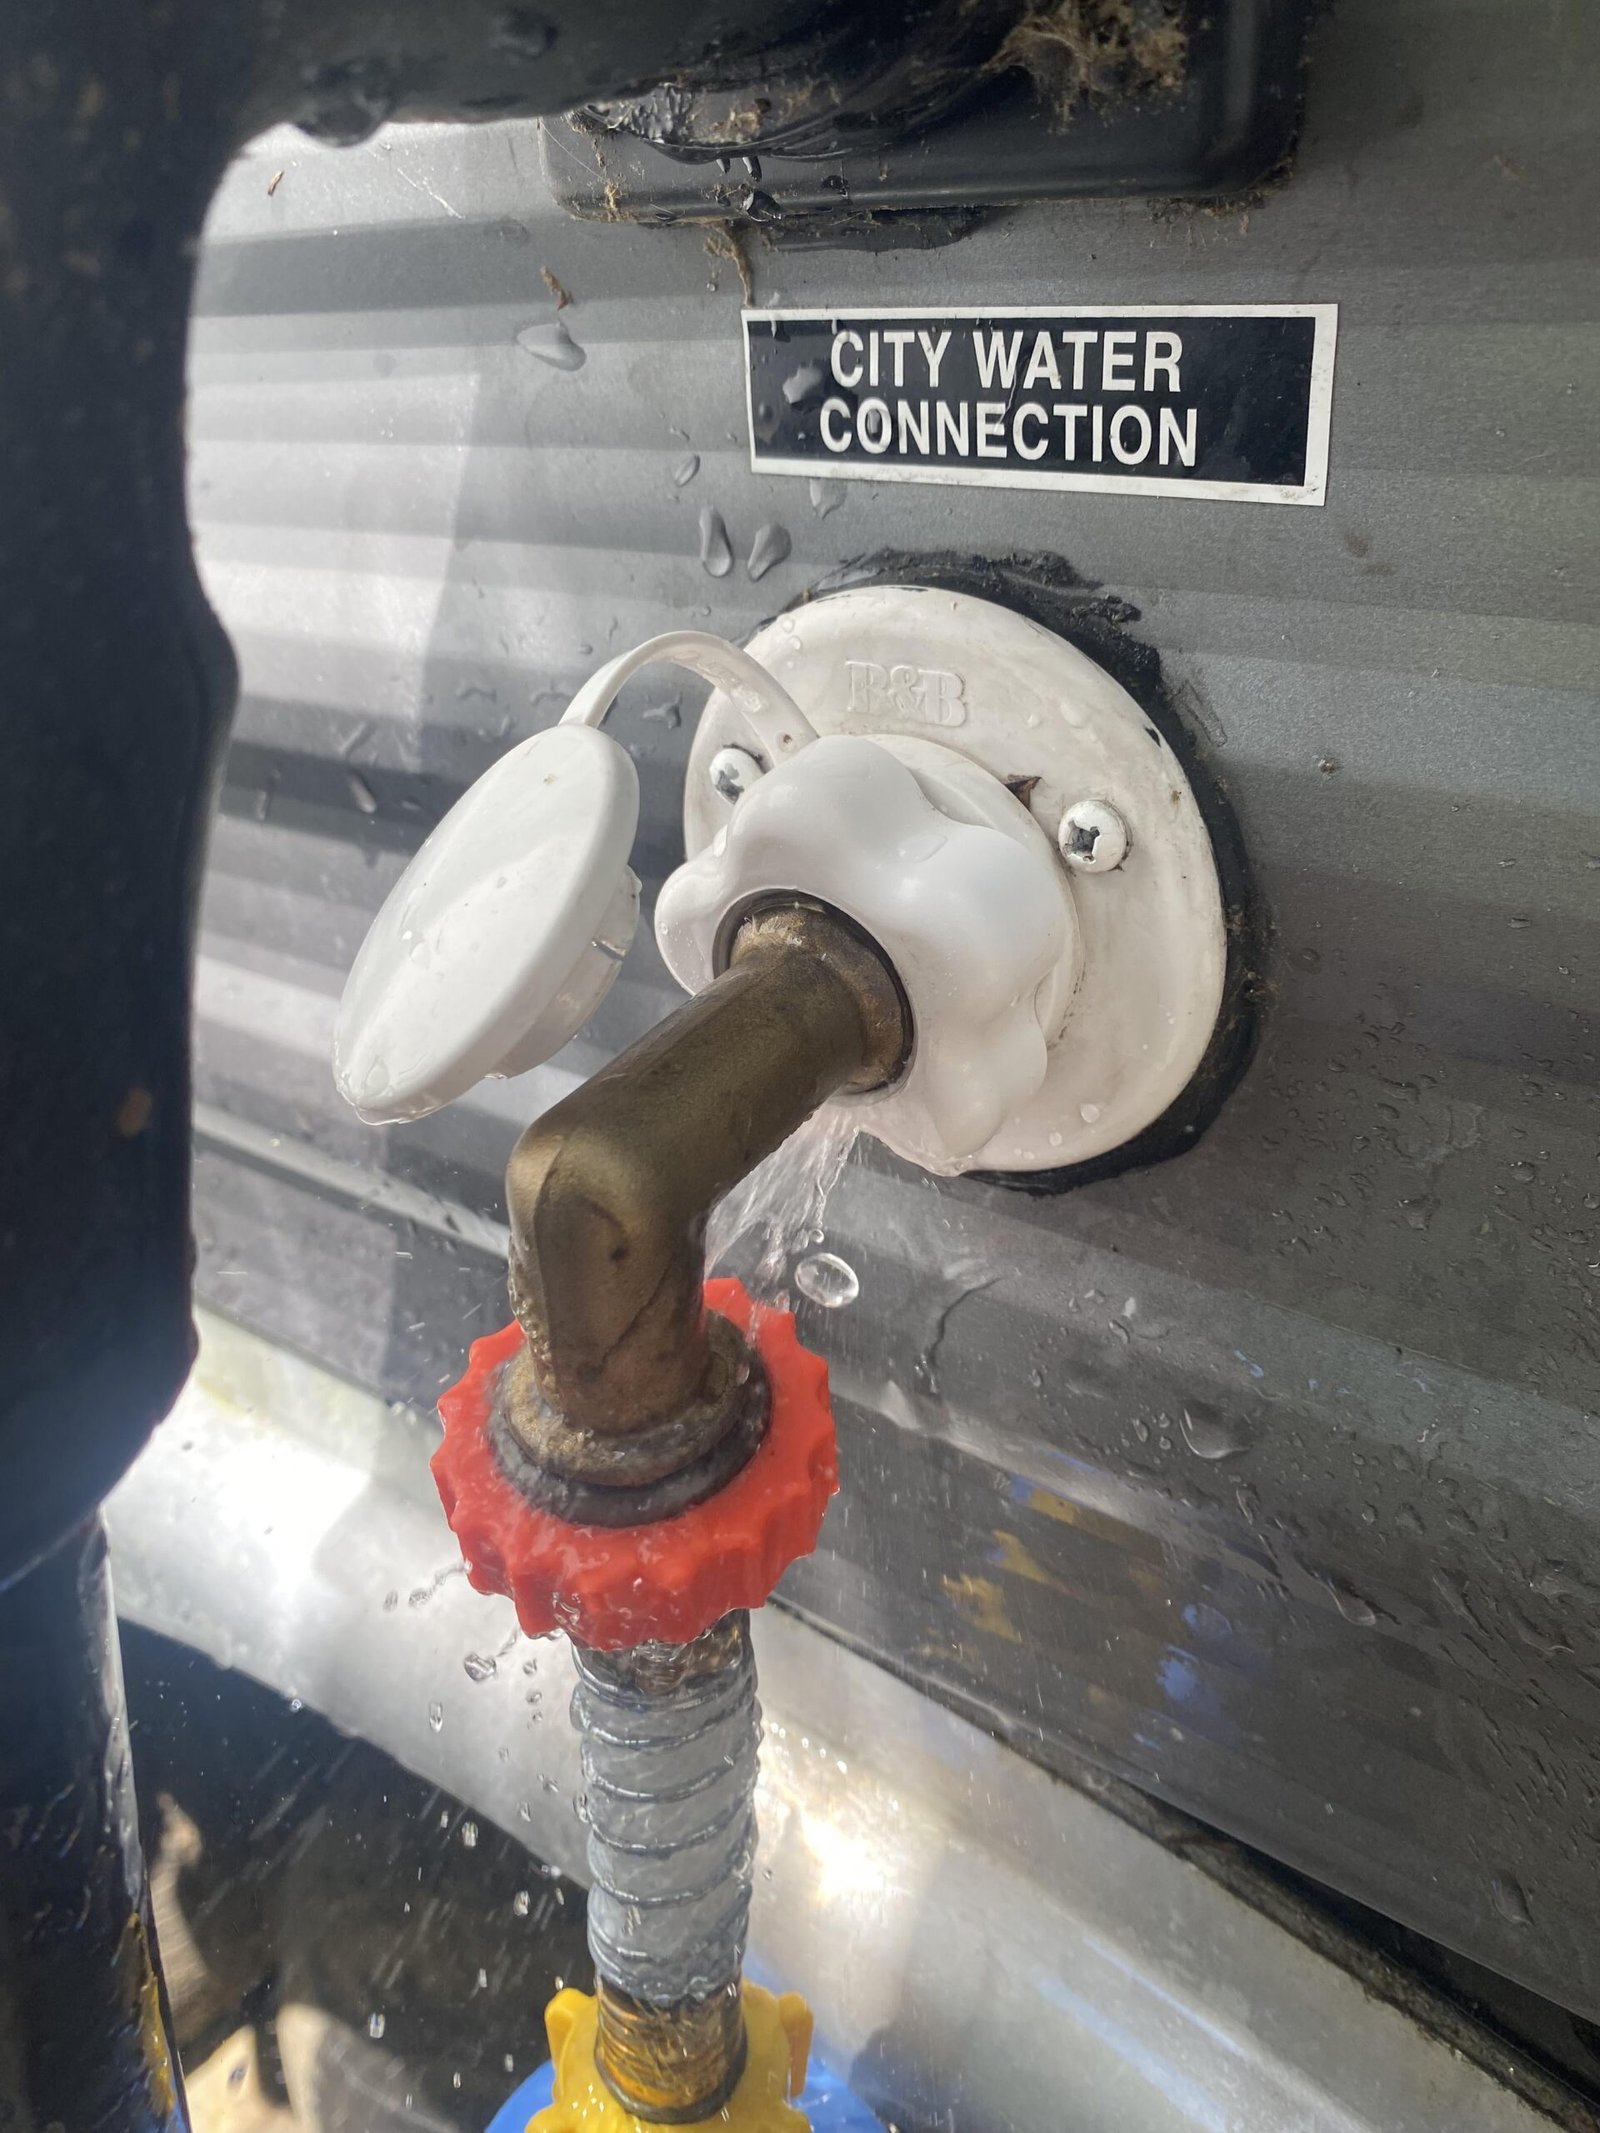
The first step to identify a leak is a visual inspection. Look at all the visible parts of the city water connection. Check for any signs of water pooling or dripping. Examine the hoses, connectors, and the water inlet. If you see any moisture or wet spots, you might have found the leak.
Use a flashlight to see clearly in darker areas. Pay attention to the areas around the fittings and joints. Sometimes, the leak is not obvious. In such cases, a closer look might reveal small cracks or holes.
Pressure Testing
If the visual inspection does not reveal the leak, try pressure testing. This method involves checking the water pressure in your RV’s plumbing system. Follow these steps for pressure testing:
- Turn off all water sources inside the RV.
- Connect a water pressure gauge to the city water inlet.
- Turn on the city water supply.
- Observe the pressure gauge for any drops in pressure.
If the pressure drops, there is likely a leak in the system. Carefully check all the plumbing connections and hoses again. The drop in pressure helps narrow down the leak location.
Regularly inspecting and testing your RV’s city water connection prevents leaks. This ensures your RV remains in good condition and water-efficient.
Tools Needed For Quick Fixes
Dealing with a leaking city water connection in your RV can be stressful. Having the right tools can make the job quicker and easier. This section will guide you through the essential tools needed for quick fixes. We will cover both basic and specialty tools to ensure you are well-prepared.
Basic Tools
Basic tools are a must for any RV owner. You will need a wrench to tighten or loosen connections. A pair of pliers can help grip and turn stubborn fittings. Screwdrivers are essential for removing panels and access covers. Keep a utility knife handy for cutting hoses or tape.
Having a flashlight is crucial for working in dark or tight spaces. A bucket or container is useful for catching water during repairs. Teflon tape is necessary for sealing threads and preventing leaks. Finally, always have some rags or towels to clean up spills and dry off areas.
Specialty Tools
Specialty tools can make fixing leaks easier and more efficient. A pipe cutter is excellent for cutting pipes cleanly and accurately. An adjustable wrench can fit various sizes of nuts and bolts. Channel lock pliers provide extra grip and leverage for tough jobs.
Pipe sealant or plumber’s tape can help seal connections more effectively. A pipe wrench is great for working with larger pipes and fittings. Having a water pressure gauge can help diagnose issues with water pressure. Finally, a leak detection dye can help identify the source of a leak quickly.
With these tools, you can handle most city water connection leaks in your RV. Being prepared with the right tools will save you time and frustration.
Temporary Fixes For On-the-road Repairs
Experiencing a city water connection leak in your RV? A temporary fix can involve using plumber’s tape or a hose clamp. These quick solutions help prevent further damage until you can get professional repairs.
Traveling in an RV brings adventure, but city water connection leaks can disrupt your journey. Knowing some quick fixes can save your day. Here, we share two effective methods to deal with leaks temporarily.
Using Sealants
Sealants can be a lifesaver for temporary water leak repairs. They are easy to apply and can hold up well until you get a permanent fix.
- Silicone Sealant: Ideal for small leaks. Clean the area first. Apply the silicone and let it dry.
- Epoxy Putty: Suitable for larger leaks. Knead the putty and apply it to the leak. It hardens quickly and provides a strong temporary seal.
- Pipe Joint Compound: This is great for threaded pipe connections. Apply the compound around the joint and retighten.
Remember, these sealants are temporary. You should replace the faulty part as soon as possible.
Taping Leaks
Taping leaks is another quick and effective method. It is simple and requires minimal tools.
- Use Plumber’s Tape: Wrap the tape around the leaking area. Ensure it covers the leak well. This tape is water-resistant and provides a strong hold.
- Electrical Tape: If plumber’s tape is unavailable, use electrical tape. It is a good alternative for temporary fixes.
- Duct Tape: This is a last resort. It is not as effective but can work in emergencies. Ensure the area is dry before applying.
Taping may not be a long-term solution but can help you manage the leak until you find a permanent repair. Take these steps to ensure your RV trips remain enjoyable and worry-free. Keep these tools handy and address leaks promptly to avoid bigger issues. “`
Permanent Repair Solutions
Experiencing a leak in your RV’s city water connection can be frustrating. Addressing this issue with permanent repair solutions is essential to prevent further damage and ensure a smooth trip. In this section, we will explore effective methods such as replacing seals and tightening connections to fix the leak permanently.
Replacing Seals
One of the most common causes of leaks is worn-out seals. Over time, seals can degrade and fail. To replace the seals, follow these steps:
- Turn off the water supply.
- Disconnect the hose from the city water inlet.
- Remove the old seal using a flathead screwdriver.
- Install a new seal that matches the size of the old one.
- Reconnect the hose and turn the water supply back on.
Always ensure you use high-quality seals. This will help to avoid future leaks and ensure long-lasting repairs.
Tightening Connections
Loose connections are another major cause of leaks. Properly tightening connections can often resolve the issue. Follow these steps:
- Turn off the water supply.
- Use a wrench to tighten the connections on the city water inlet.
- Check for any visible gaps or misalignments.
- Turn the water supply back on and check for leaks.
Ensure the connections are snug but not over-tightened. Over-tightening can damage the fittings and cause further issues.

Credit: www.youtube.com
Preventative Maintenance Tips
Keeping your RV’s water connection in top shape is essential for a smooth journey. Leaks can cause major headaches and costly repairs. Implementing some preventative maintenance tips can save you from these troubles. Below are some key areas to focus on.
Regular Inspections
Regular inspections are crucial. Check your city water connection at least once a month. Look for any signs of wear and tear.
- Examine hoses for cracks.
- Check fittings for corrosion.
- Inspect seals for leaks.
Use a flashlight to spot hidden issues. Tighten any loose connections. Replace damaged parts immediately. This simple step can prevent major leaks.
Proper Winterization
Winter can be harsh on your RV’s water system. Proper winterization is key to avoiding leaks.
- Drain all water lines.
- Use RV antifreeze in the plumbing system.
- Disconnect the city water hose.
Store the hose in a dry place. Follow these steps before the first freeze. This ensures your water connection stays intact.
In summary, regular inspections and proper winterization are essential. They help maintain your RV’s water connection and prevent leaks.
Choosing Quality Replacement Parts
Choosing quality replacement parts for your RV’s city water connection is crucial. Leaking issues can be annoying and lead to water damage. Here’s a guide to help you pick the best parts.
Material Considerations
Materials play a key role in the durability and performance of replacement parts. Here are some options:
- Brass: Known for its strength and resistance to corrosion. Ideal for long-term use.
- Plastic: Lightweight and affordable but may not last as long.
- Stainless Steel: Offers excellent corrosion resistance and durability. A bit more expensive but worth the investment.
Choose materials based on your needs and climate conditions. Brass and stainless steel are generally the best choices for most RV owners.
Brand Recommendations
Picking the right brand ensures reliability and quality. Some top brands include:
| Brand | Features |
|---|---|
| Camco | Known for durable and high-quality parts. Offers a wide range of options. |
| Valterra | Provides reliable and long-lasting products. Often used by RV enthusiasts. |
| SHURflo | Specializes in water pumps and accessories. Trusted for their performance. |
Consider these brands for your replacement parts. They have a good reputation and are well-reviewed by other RV owners.
When To Seek Professional Help
Facing a City Water Connection RV leak? It might be time to call a professional. Quick action can prevent serious damage and costly repairs.
Experiencing a water leak in your RV can be frustrating. Sometimes, fixing it yourself is possible. But, there are times when seeking professional help is necessary. Knowing when to call an expert can save time and prevent further damage.
Complex Repairs
Some repairs are too complex for a DIY approach. If the leak involves hard-to-reach areas, specialized tools, or intricate parts, it’s best to contact a professional. They have the experience and equipment needed. This ensures the repair is done correctly and safely.
Recurring Issues
Recurring leaks can indicate a deeper problem. If you fix a leak and it returns, there could be an underlying issue. A professional can diagnose and fix the root cause. This prevents future leaks and protects your RV from water damage. “`

Credit: www.loveyourrv.com
Frequently Asked Questions
What Causes Rv City Water Connection To Leak?
RV city water connections can leak due to loose fittings, worn-out washers, or damaged hoses. Regular maintenance helps prevent leaks.
How Can I Fix A Leaking Rv Water Connection?
To fix a leaking RV water connection, tighten the fittings, replace damaged washers, or use Teflon tape. Check hoses for damage.
Is A Leaking Rv Water Connection Dangerous?
A leaking RV water connection can cause water damage and mold. Prompt repairs prevent costly damages and health issues.
What Tools Are Needed To Fix Rv Water Leaks?
You’ll need a wrench, Teflon tape, replacement washers, and possibly a new hose to fix RV water leaks.
Conclusion
Regular maintenance prevents RV water connection leaks. Inspect fittings and hoses often. Address small issues early. This saves time and money. Clean connections and use proper tools. Seek professional help if necessary. Enjoy a leak-free RV experience. Safe travels and happy camping!


